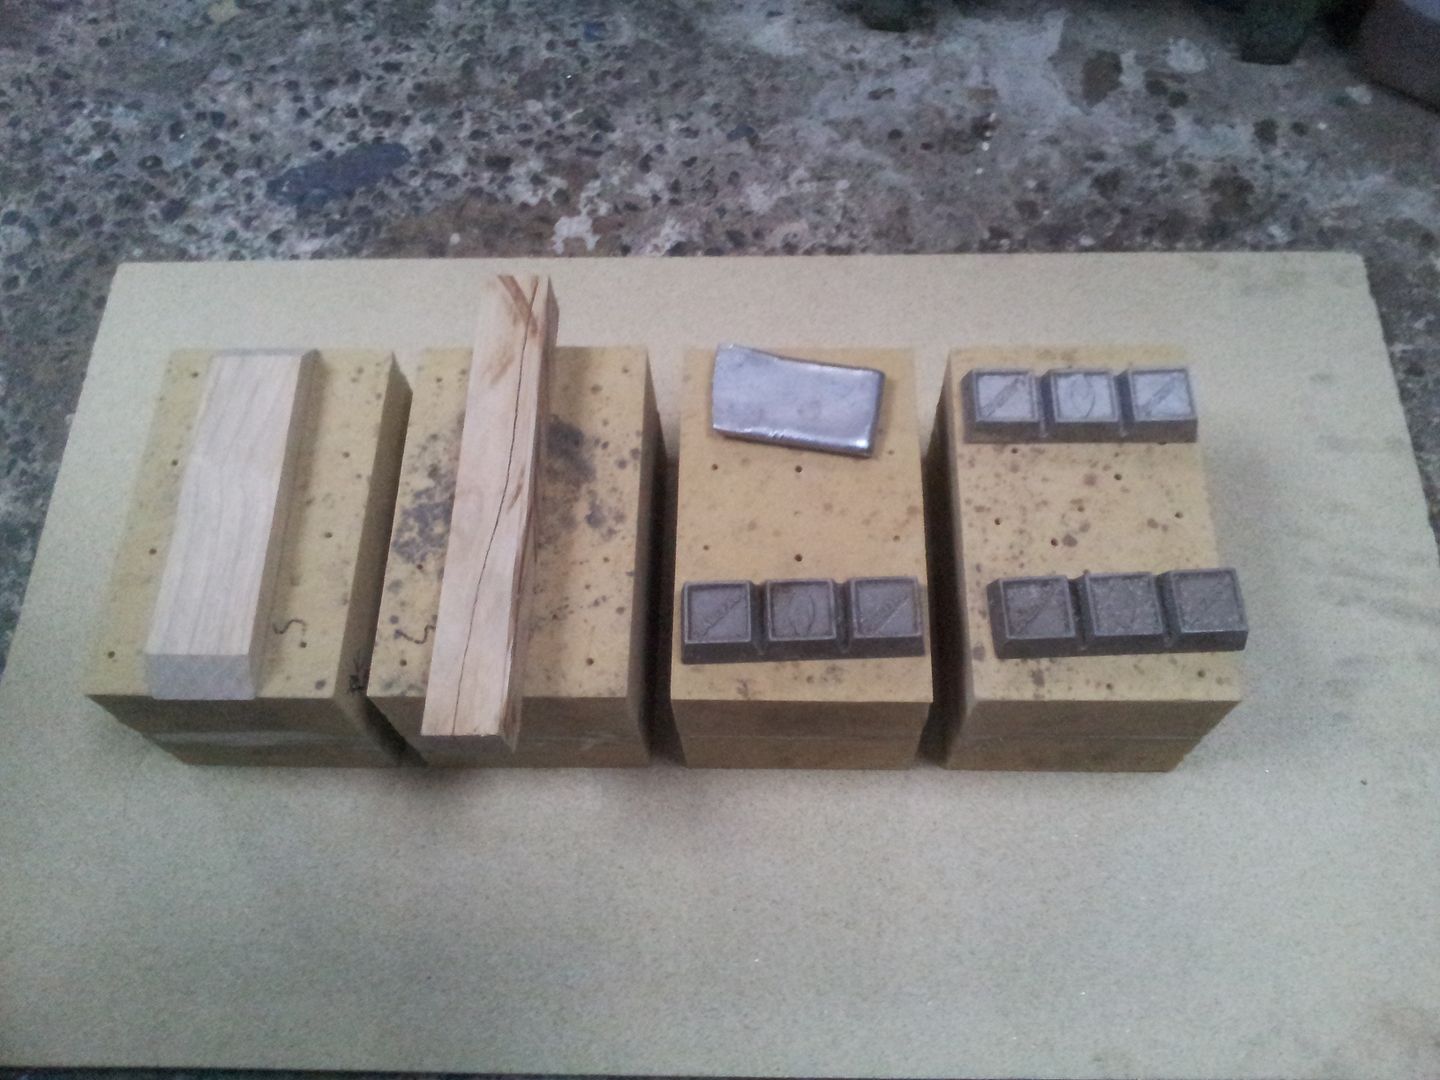
Ok, so got these poured,
With the camera in better form shots are better.
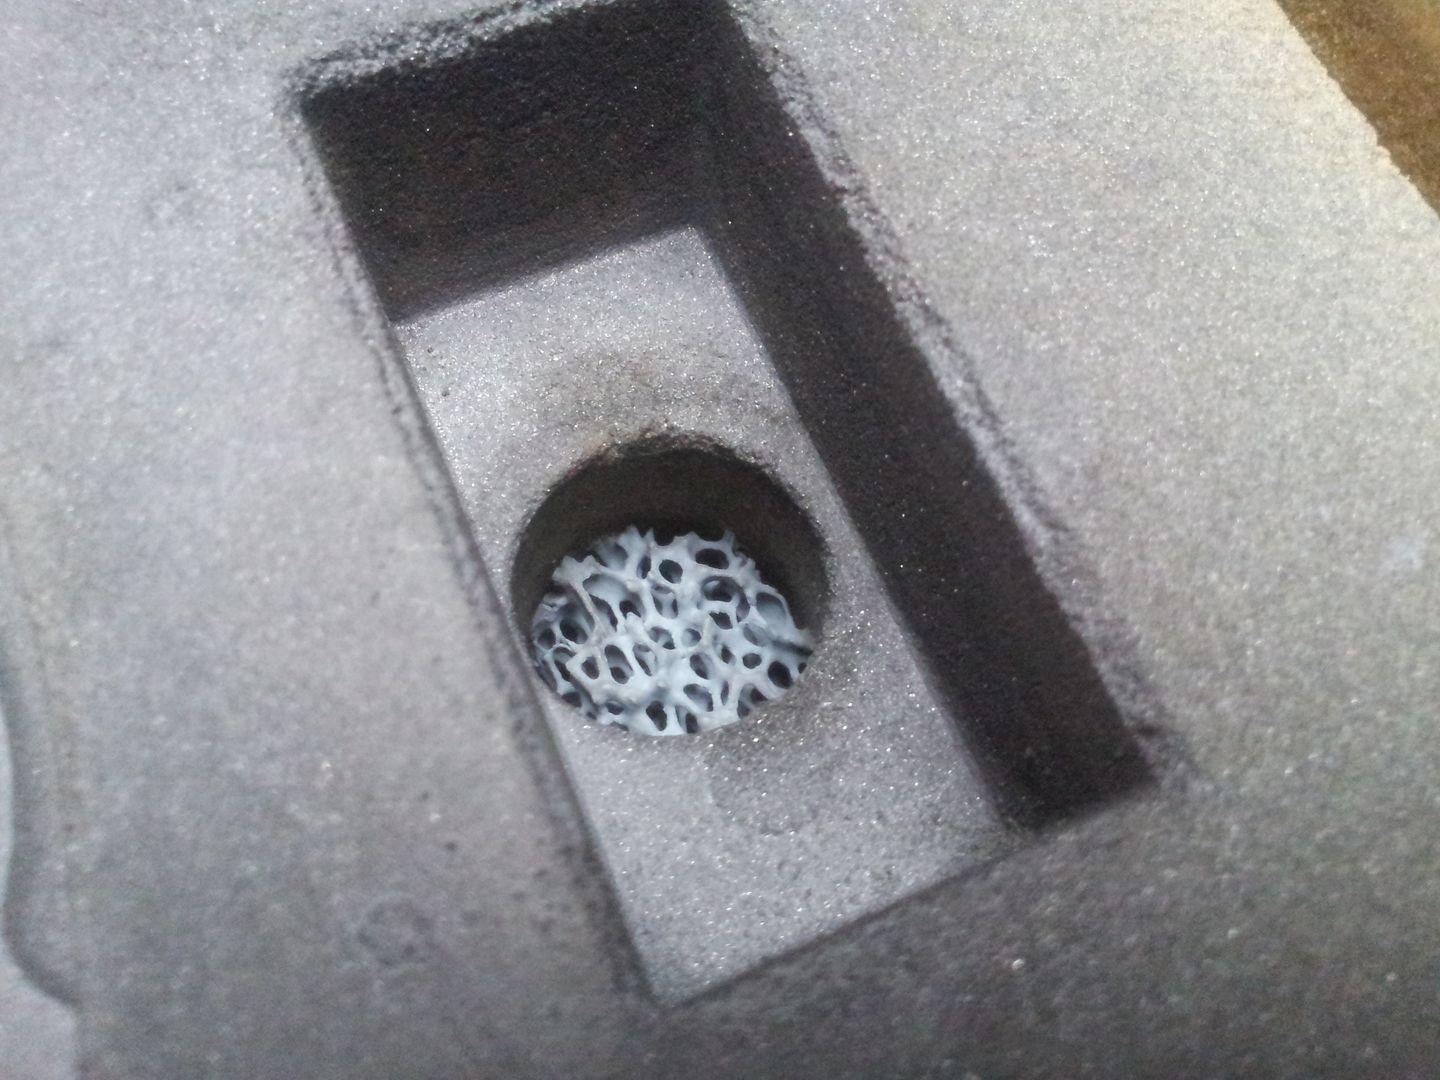
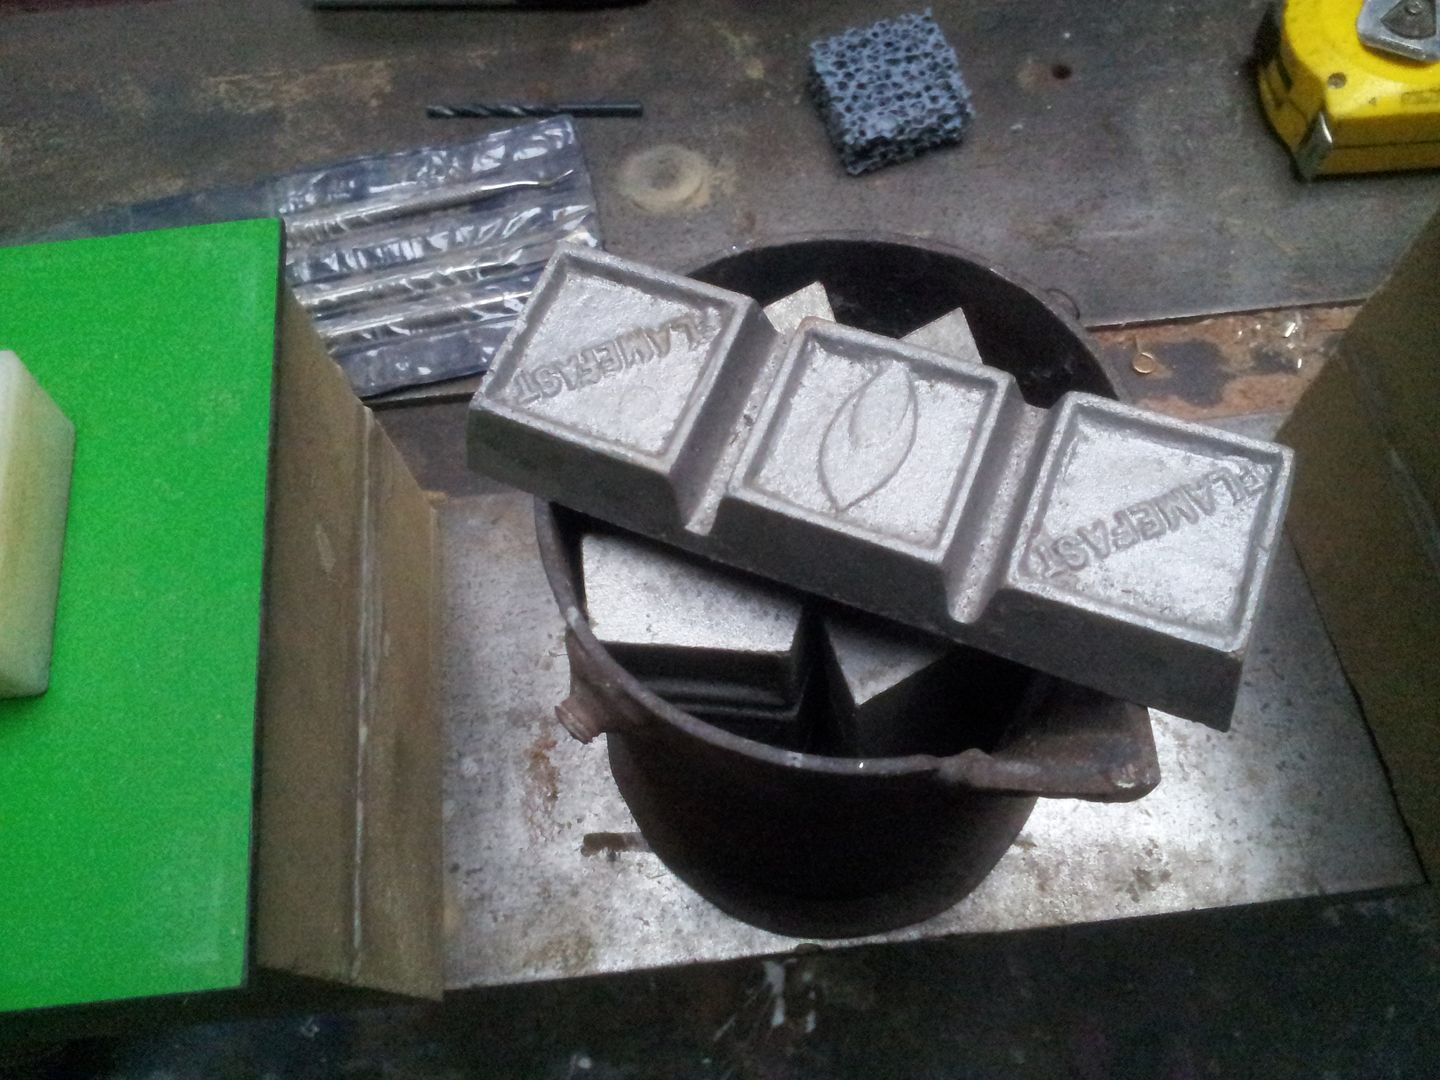
Installation of filter in the filling sprue - this keeps out any dross or foreign items present in melt,
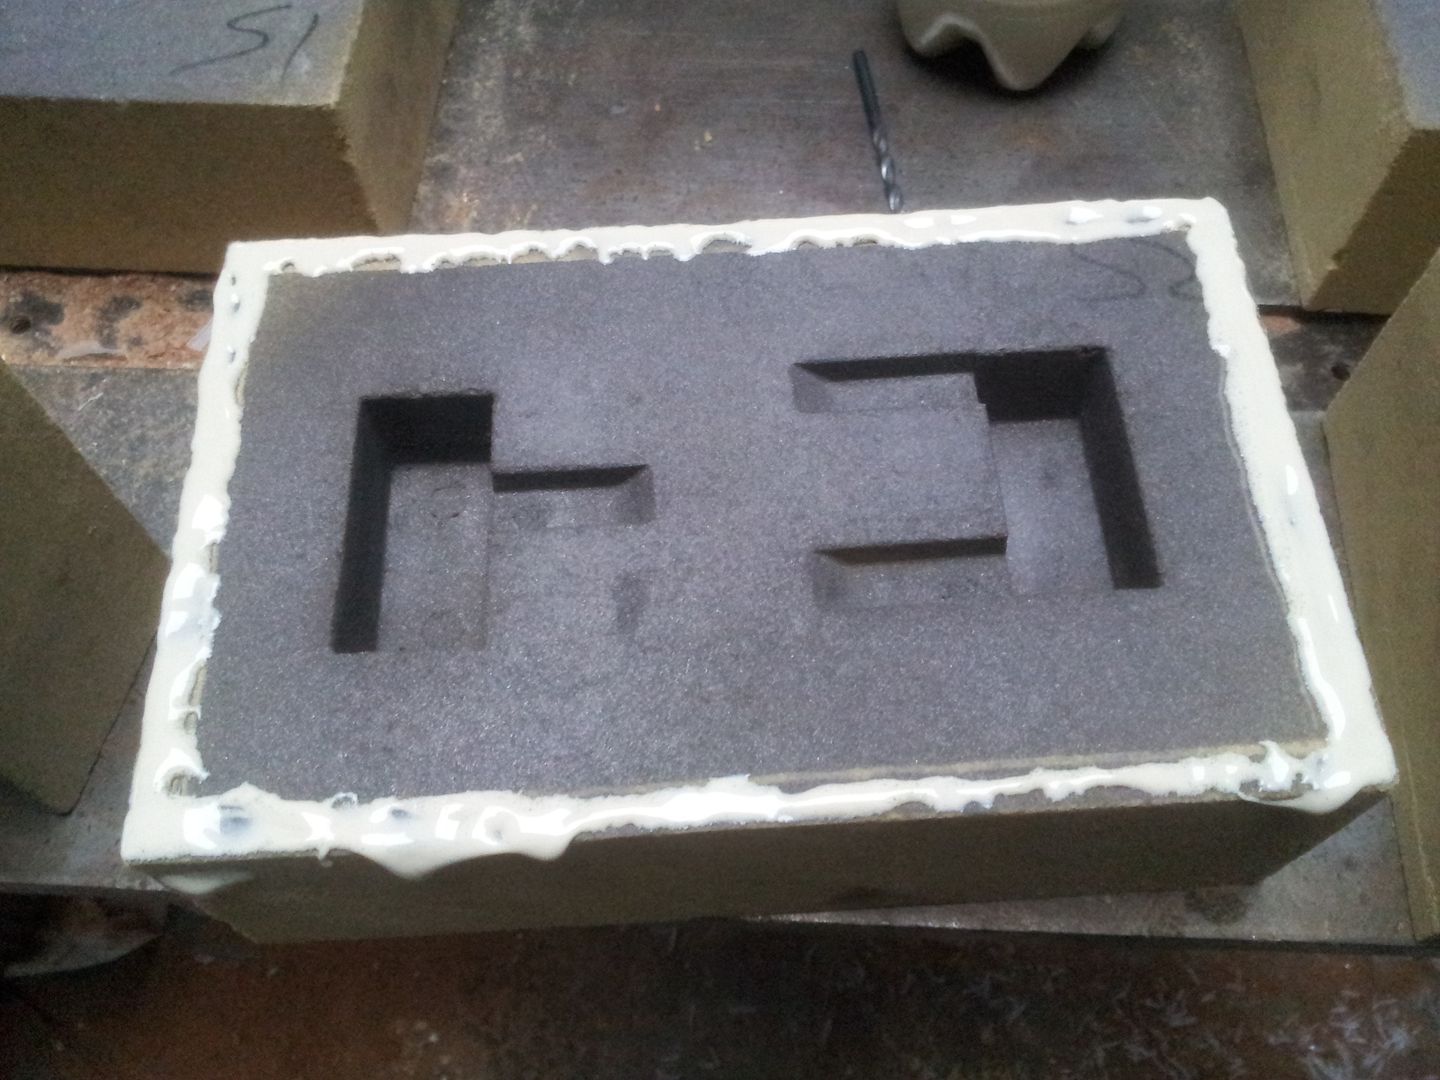
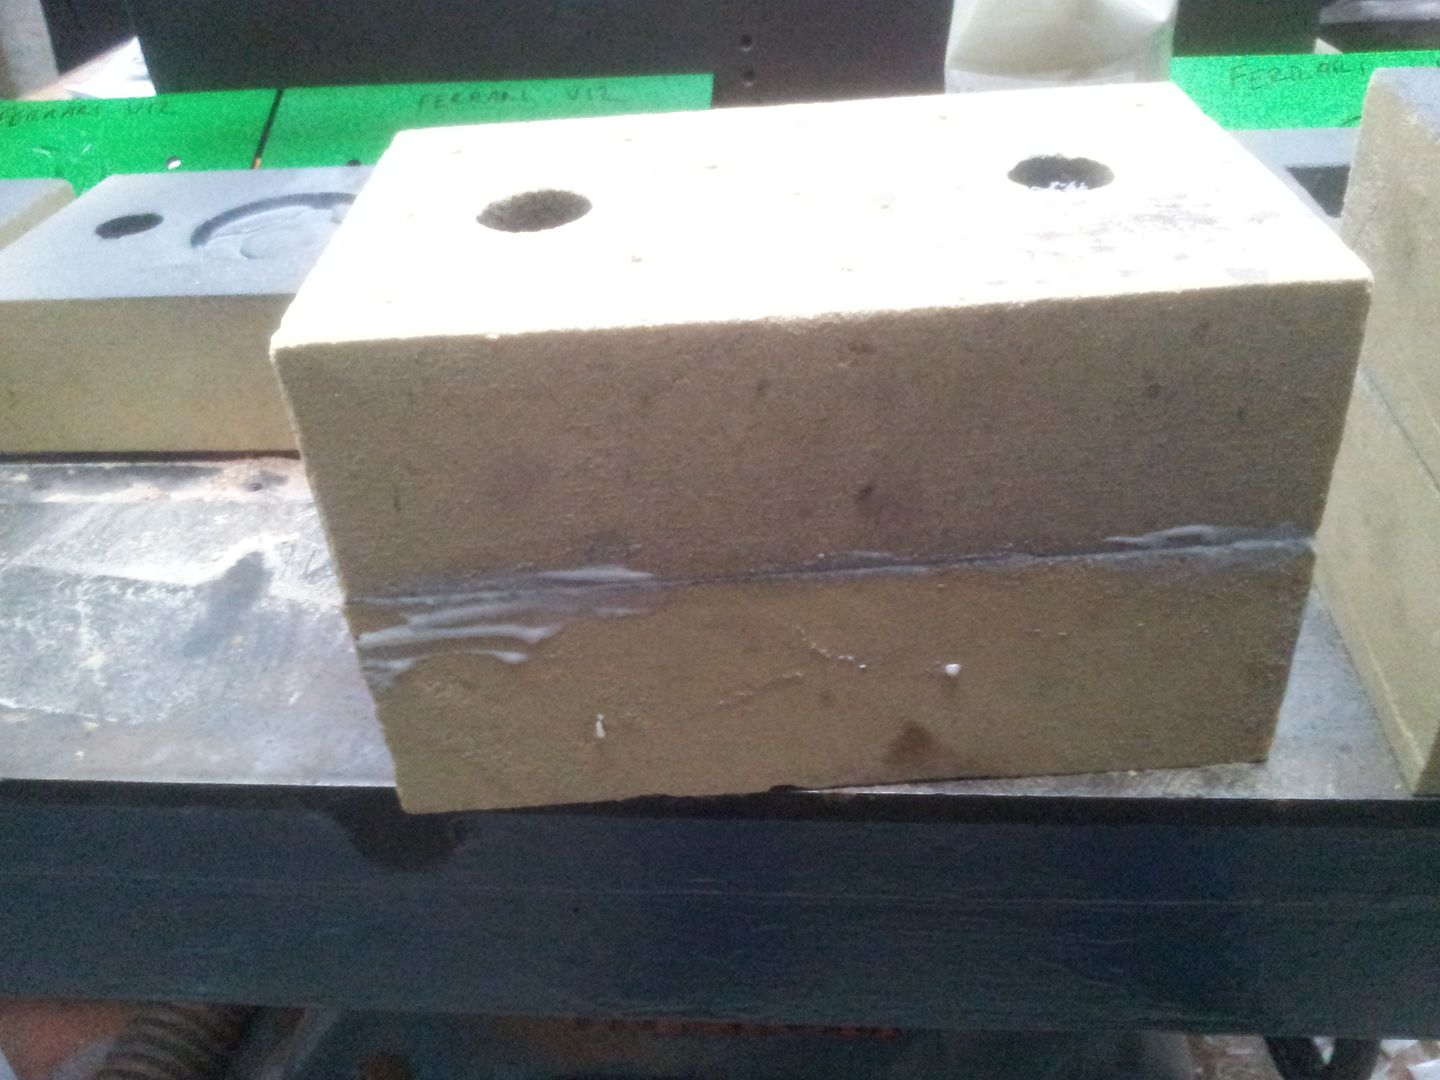
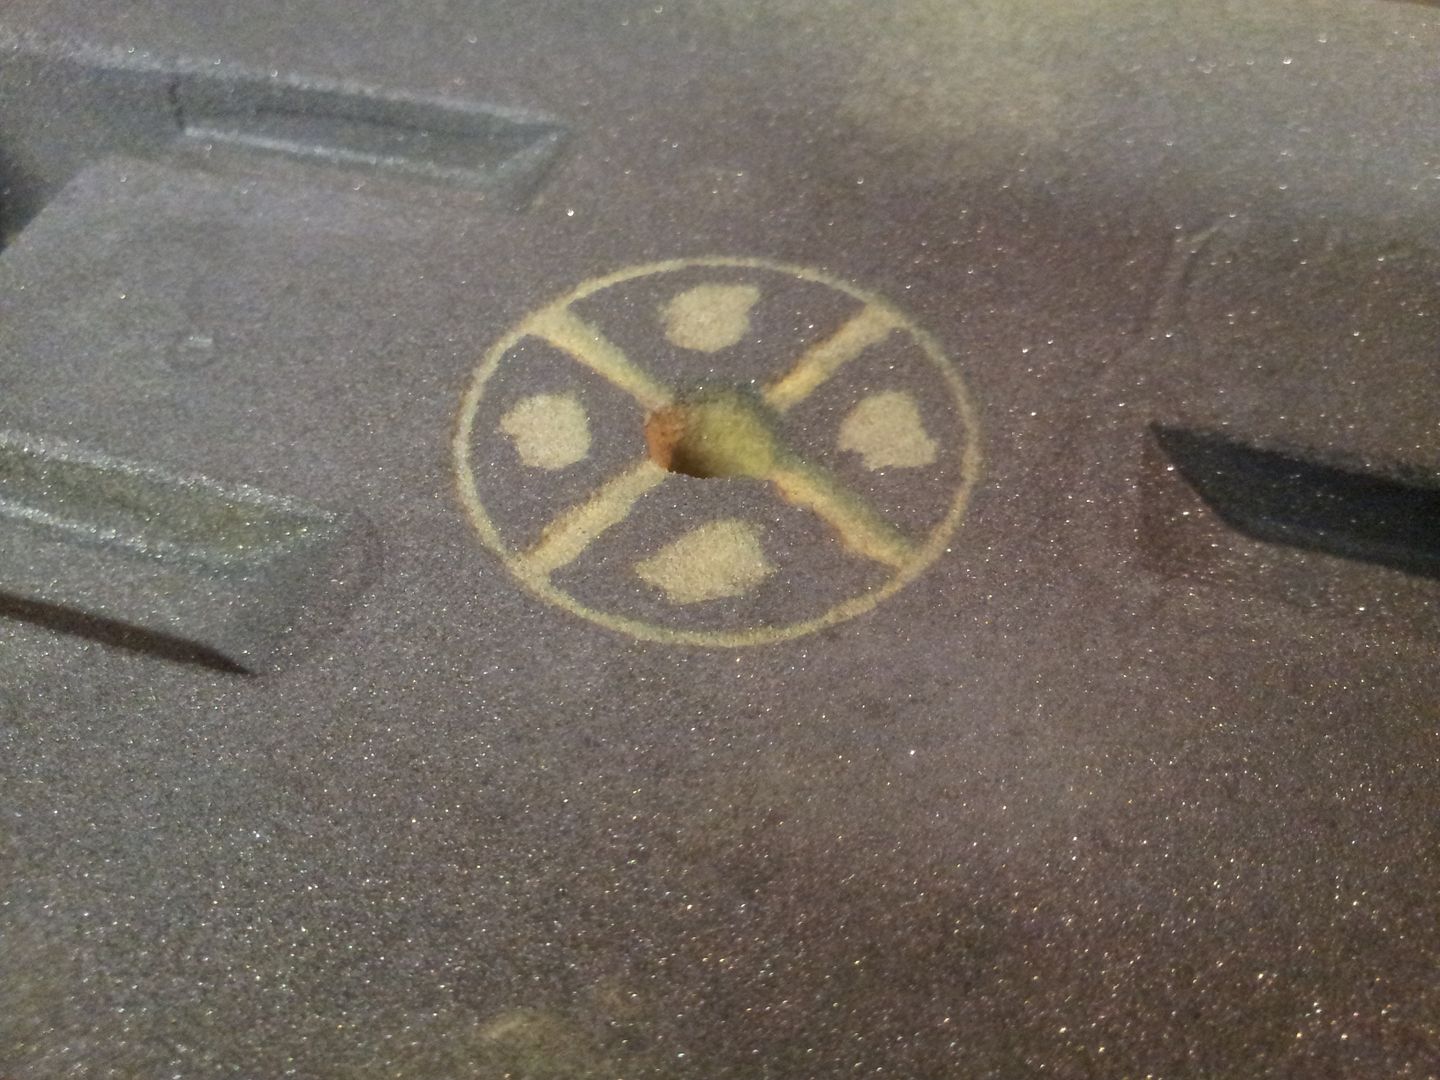
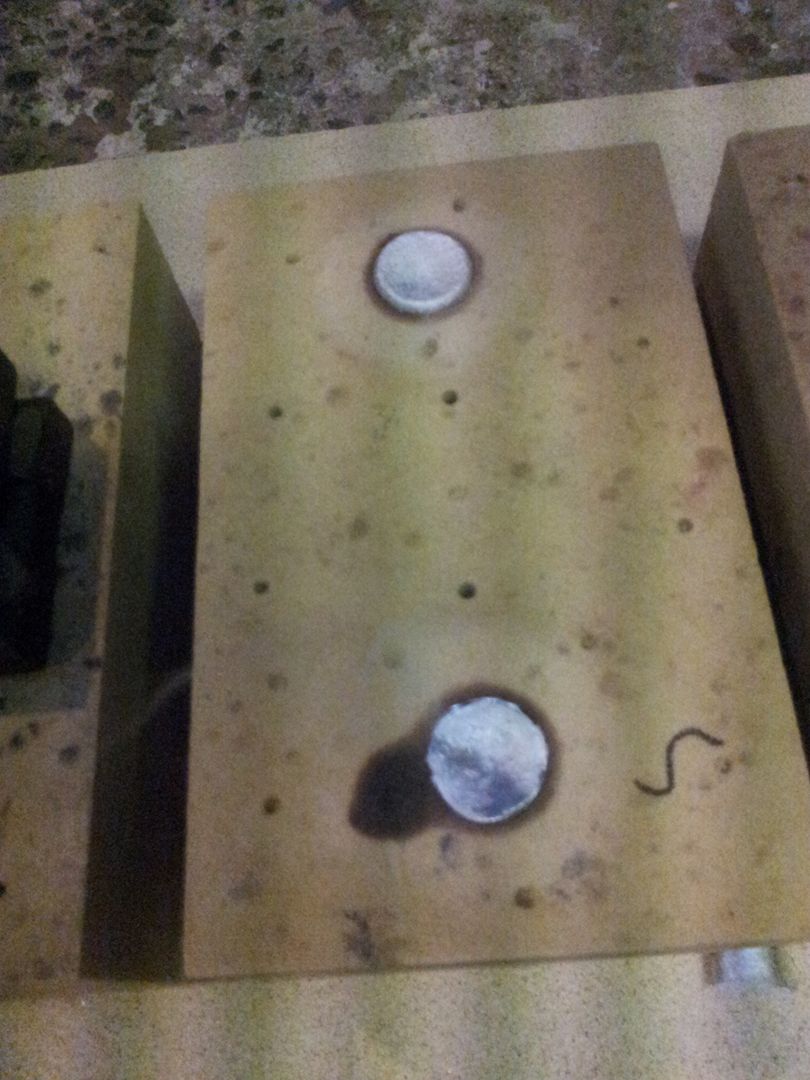
The moulds with the cavities above the parting line got drilled for vent holes, because the moulds have been coated with a light wash they become air tight, so, air has to be vented because alloy has not the power under gravity pour to displace the air,

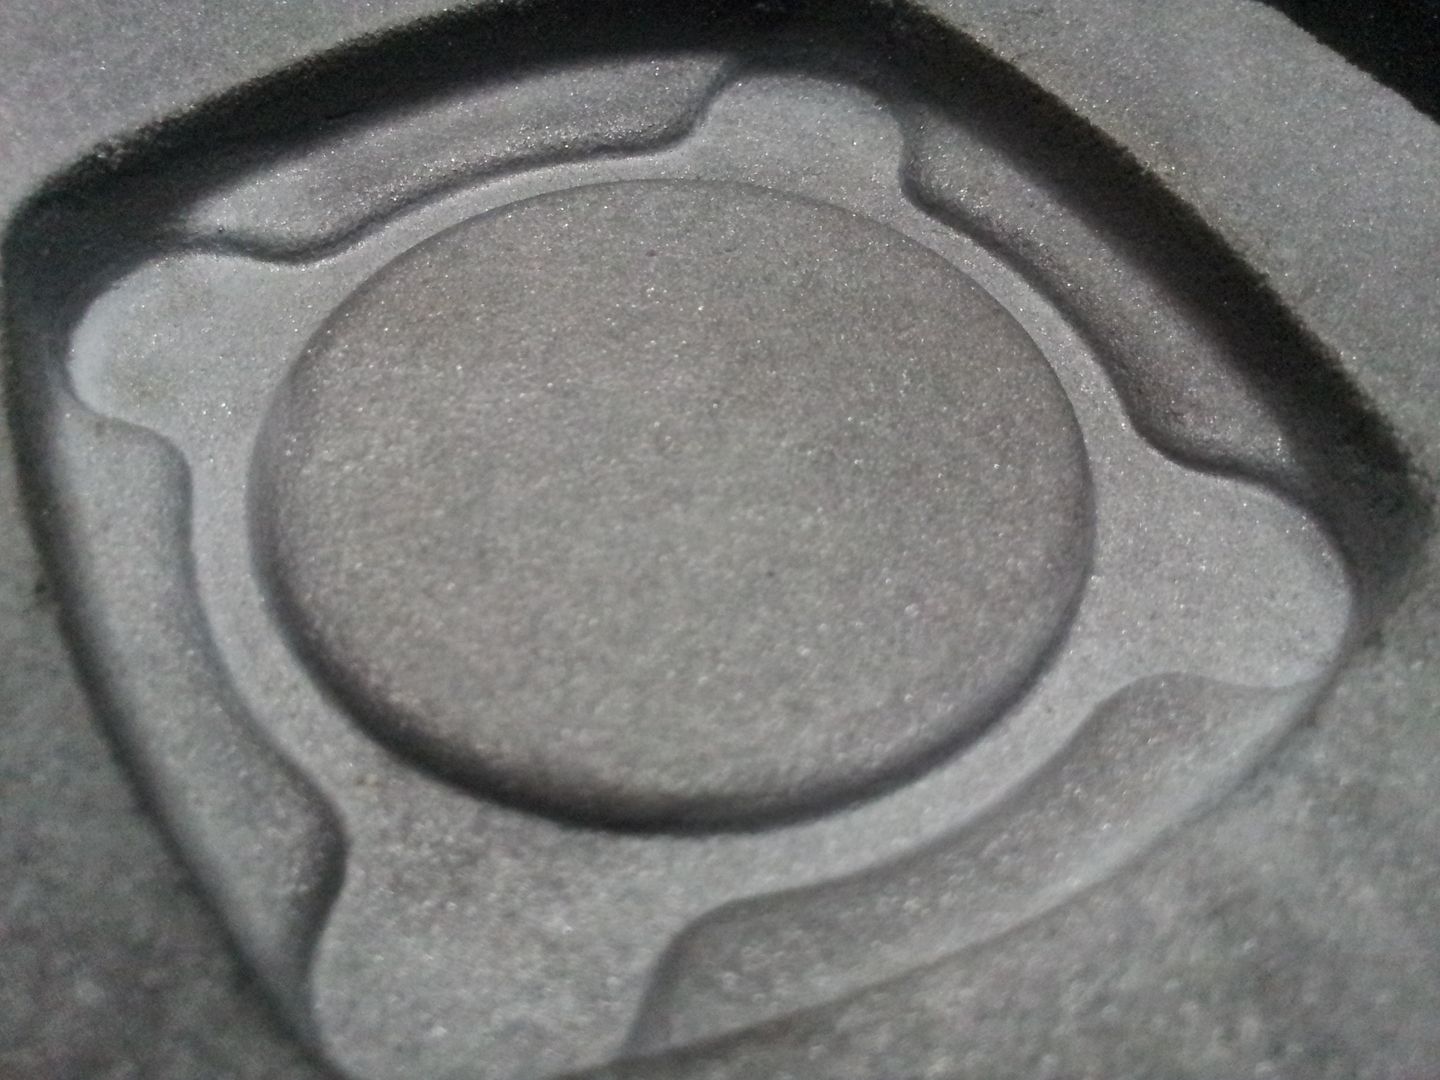
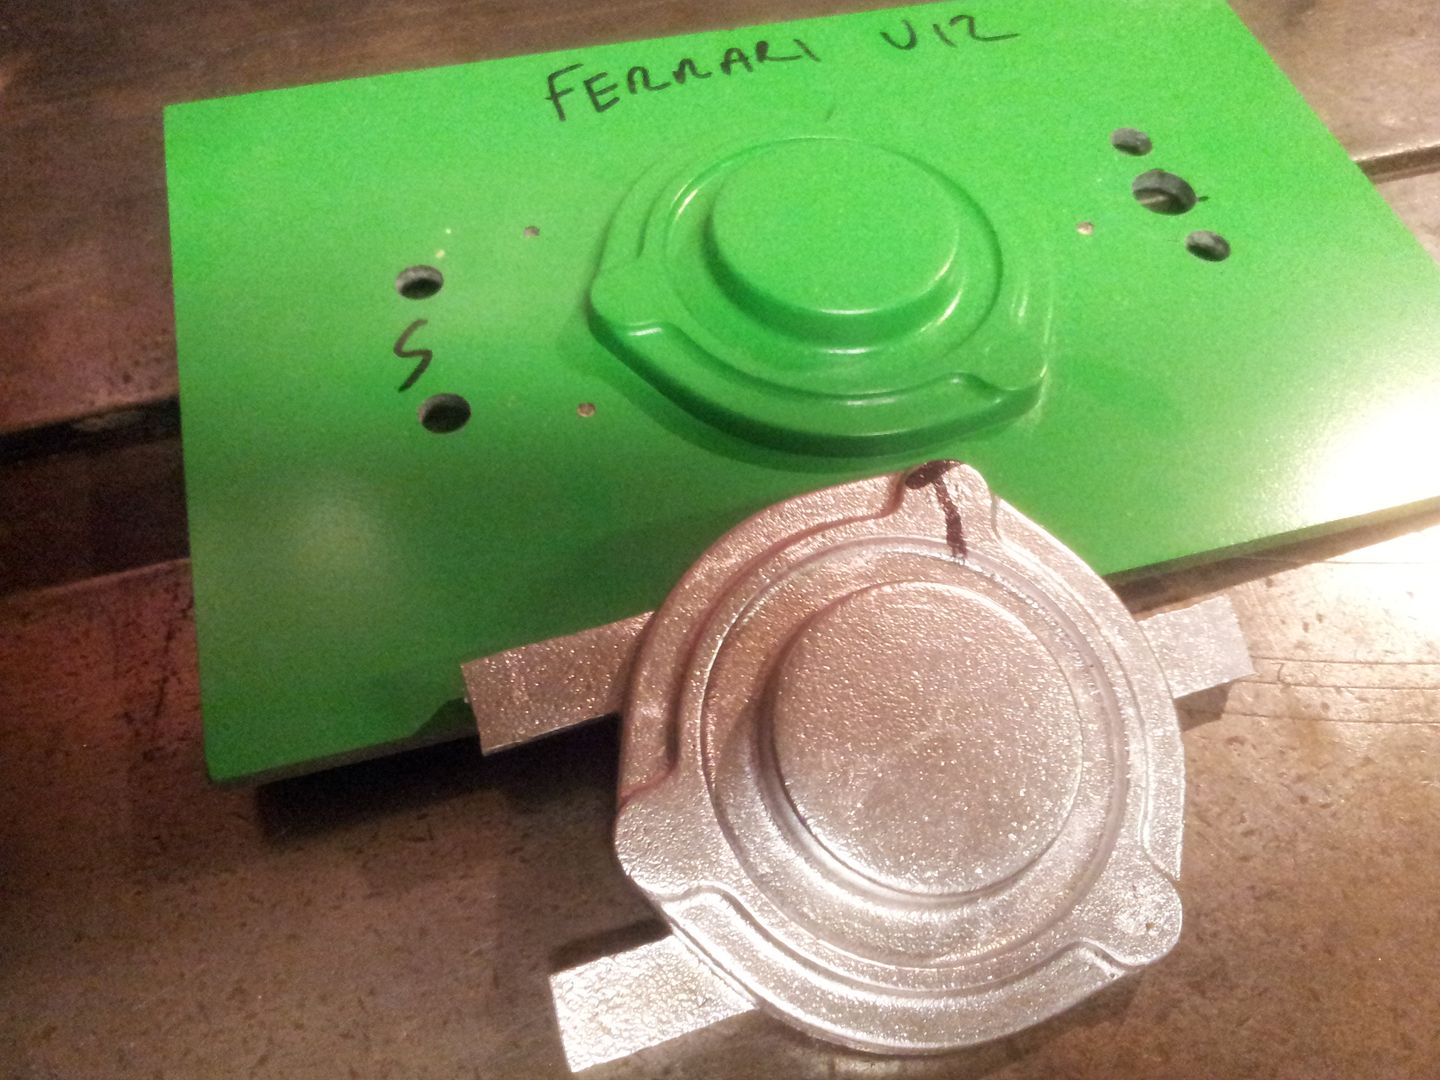
Mould detail,
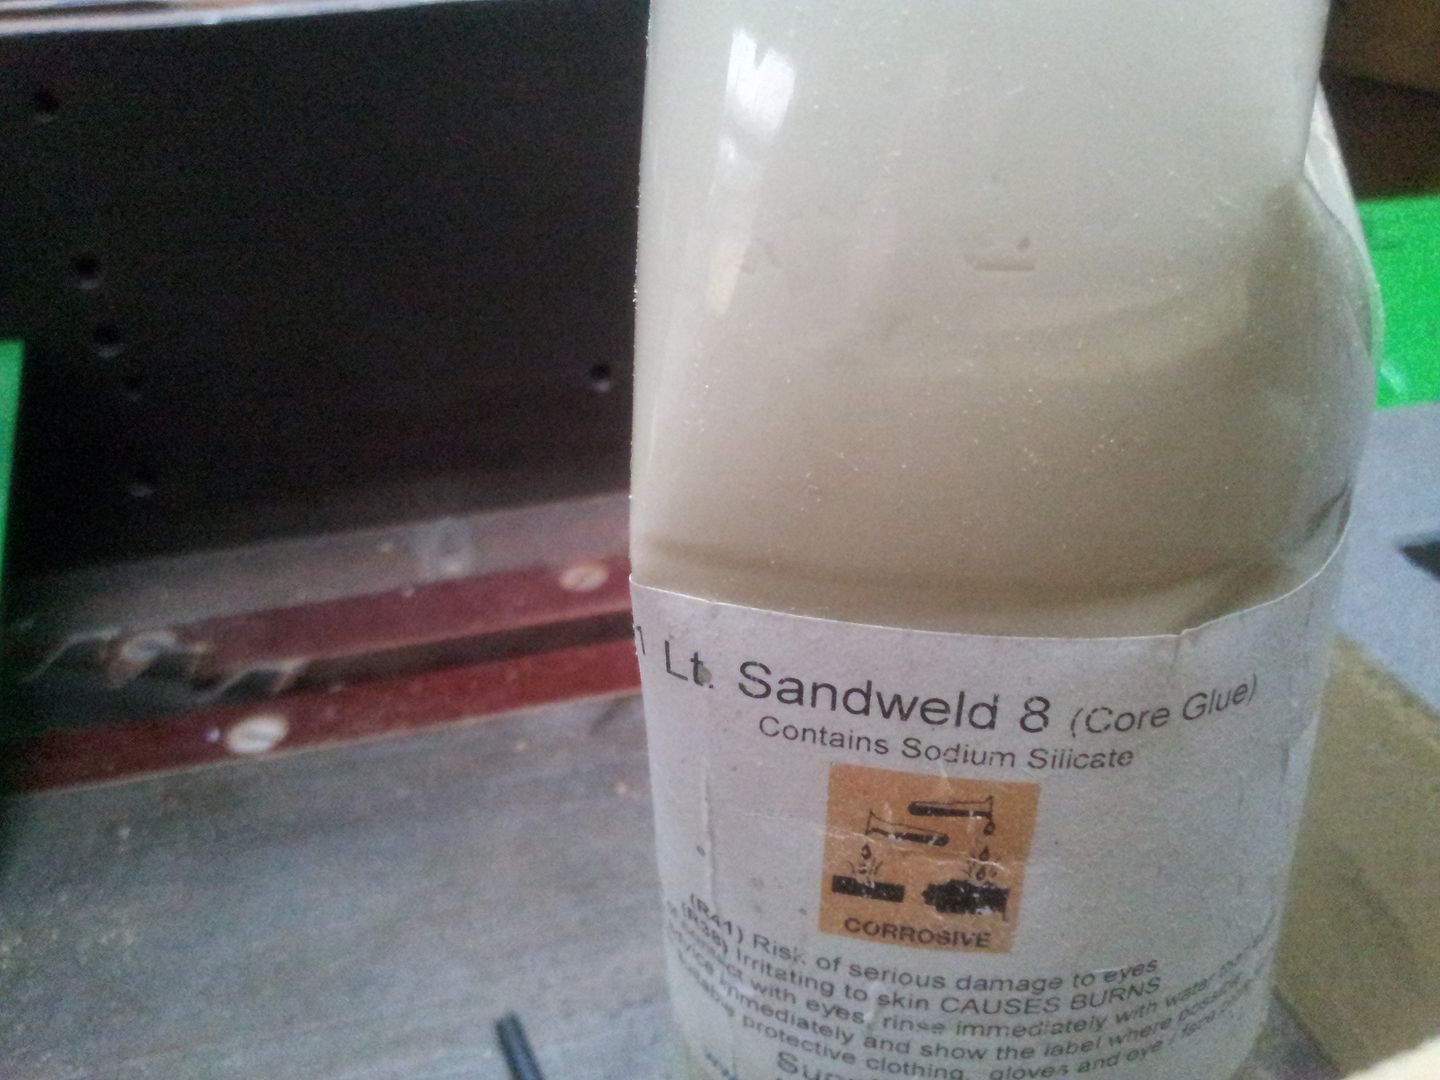
Glue is applied to lower mould and the top one placed on,
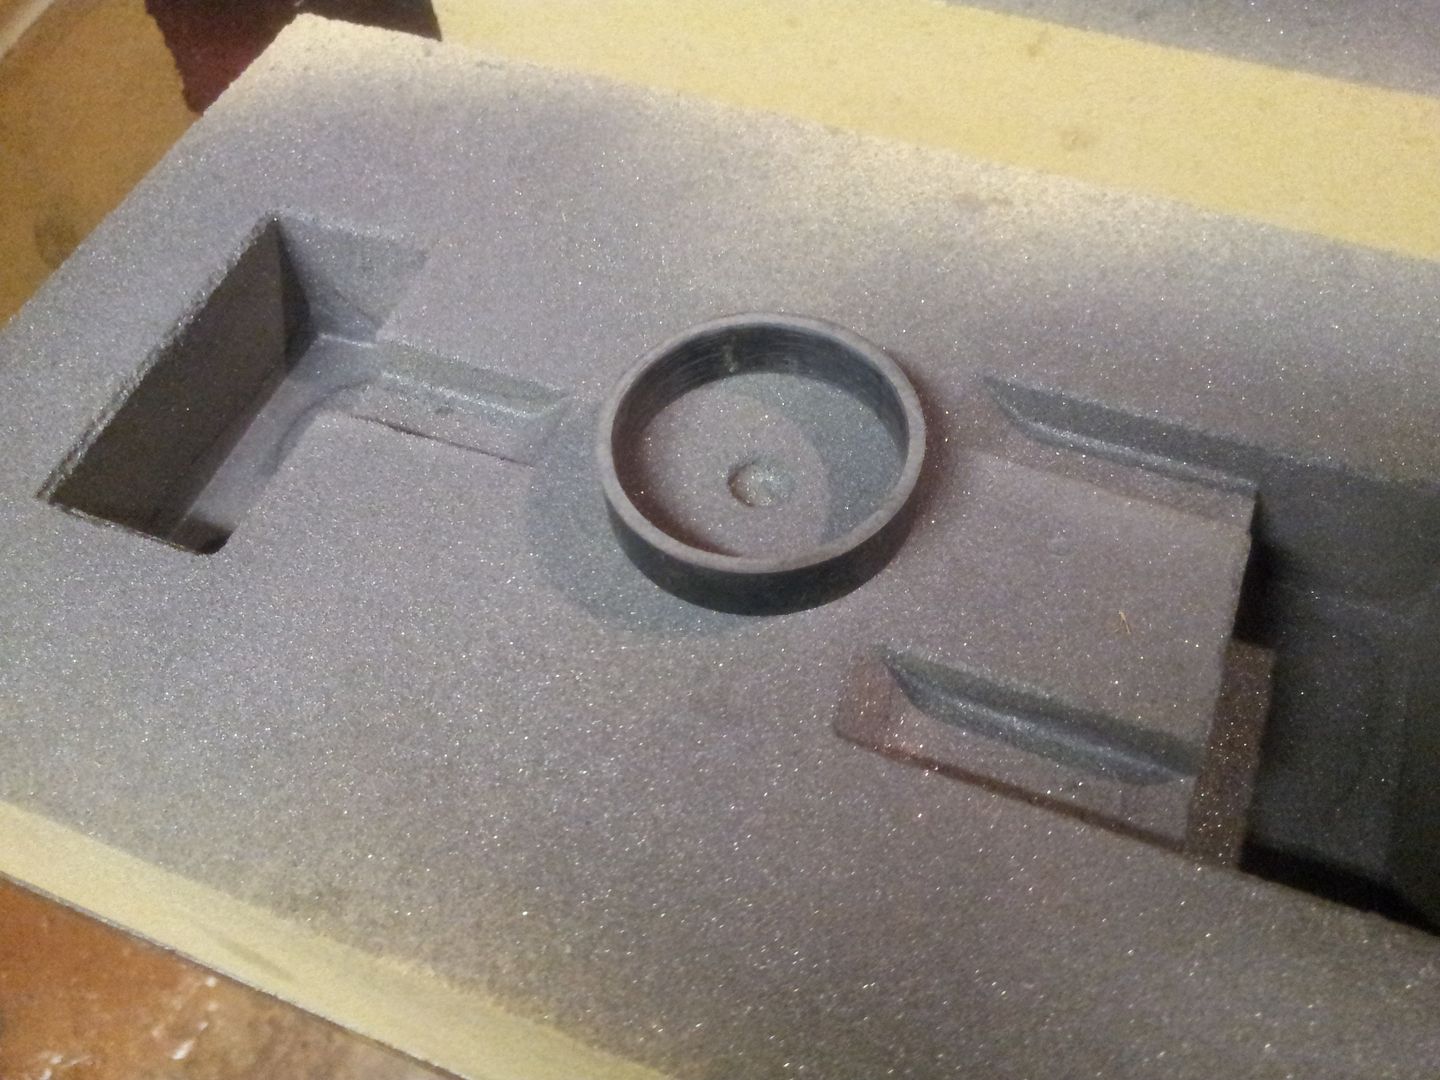
To make the mould form for the spigot that causes the hollow in rear of three bolt flange a piece of pipe is used of correct size with a slit in wall to allow sand core removal,
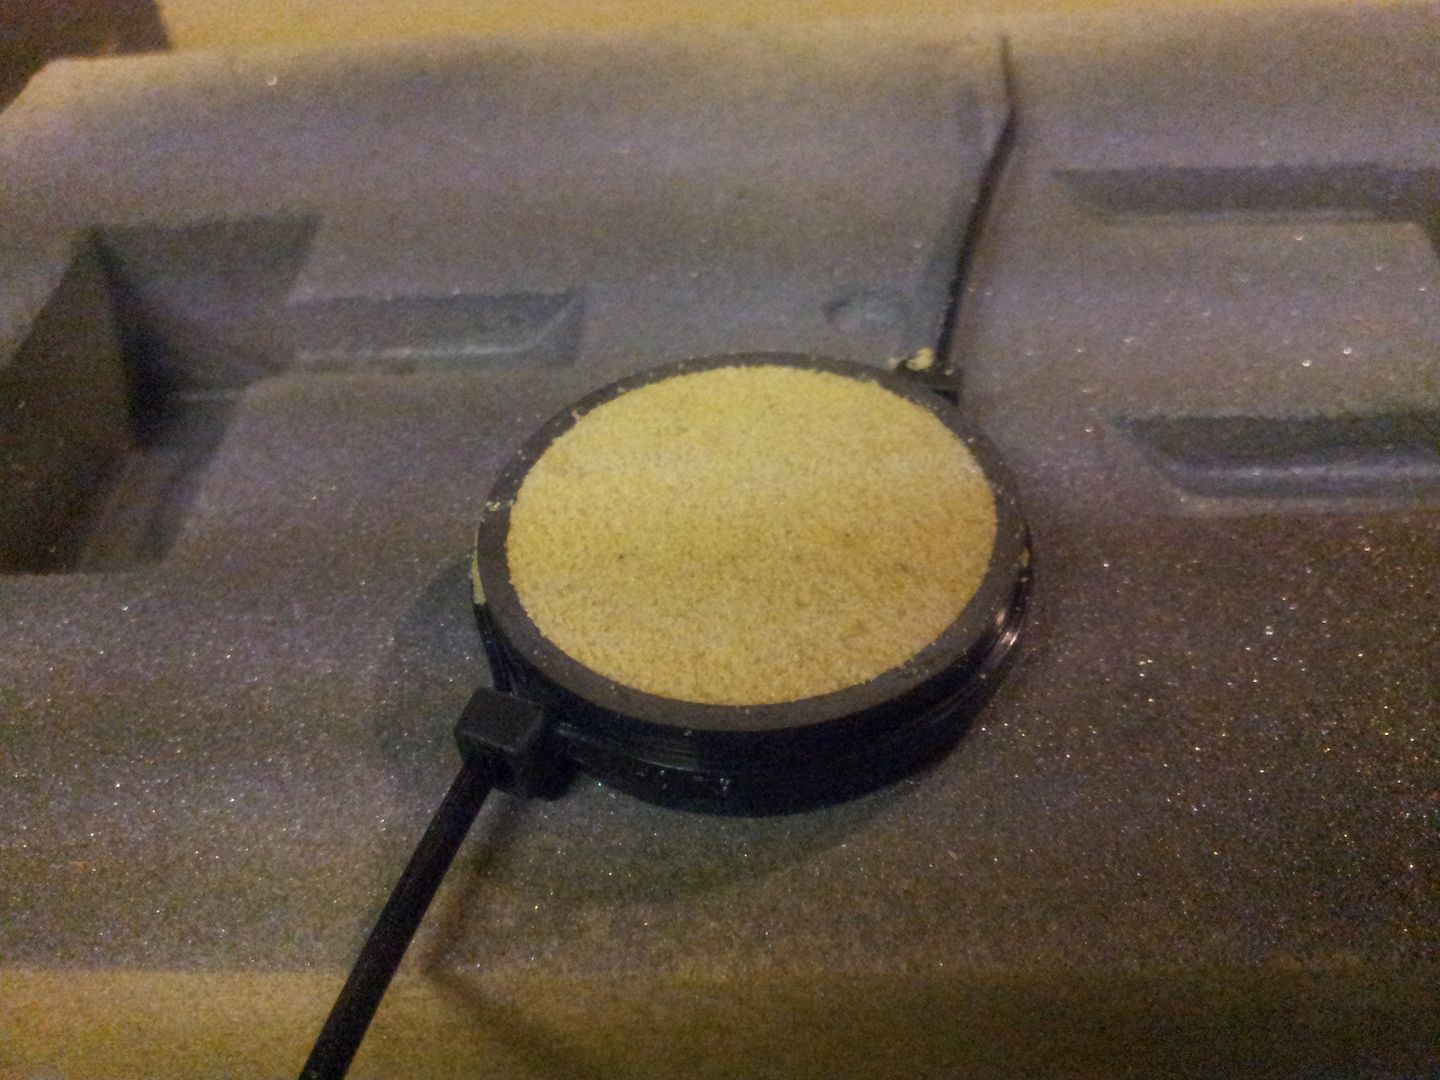
Cable ties are used to keep ring closed while filling, its gassed and removed,
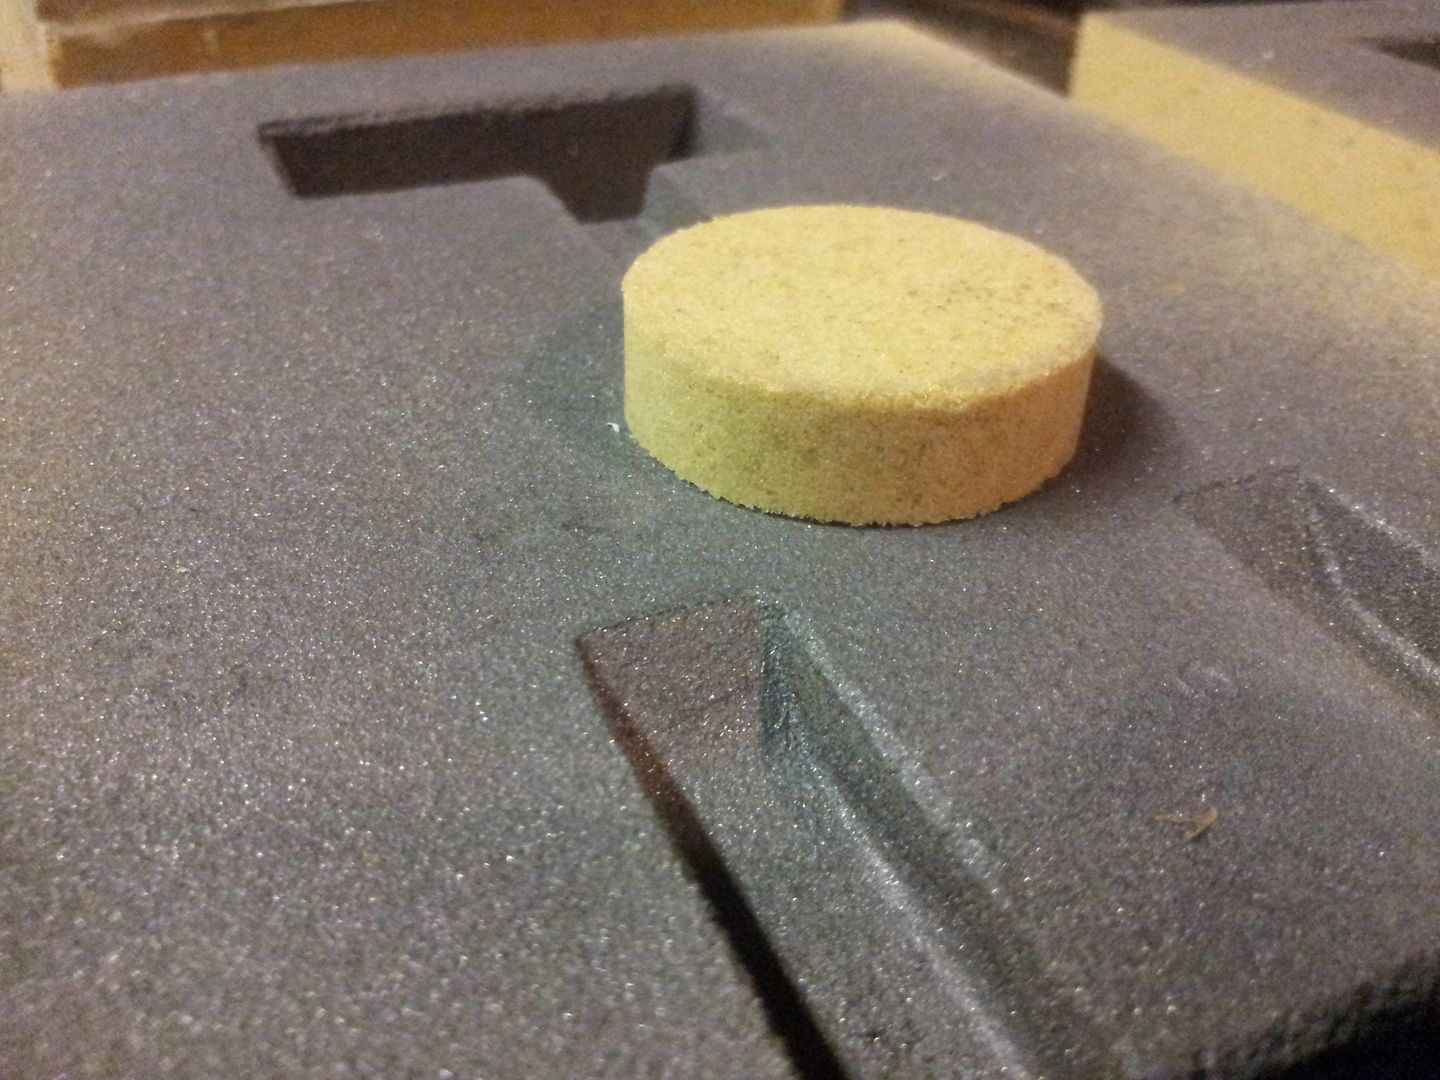
Another hole is drilled under where the core is glued to allow core to breath its internal gasses into main mould,
Core piece is glued on and smoothed with graphite/zircon filler,
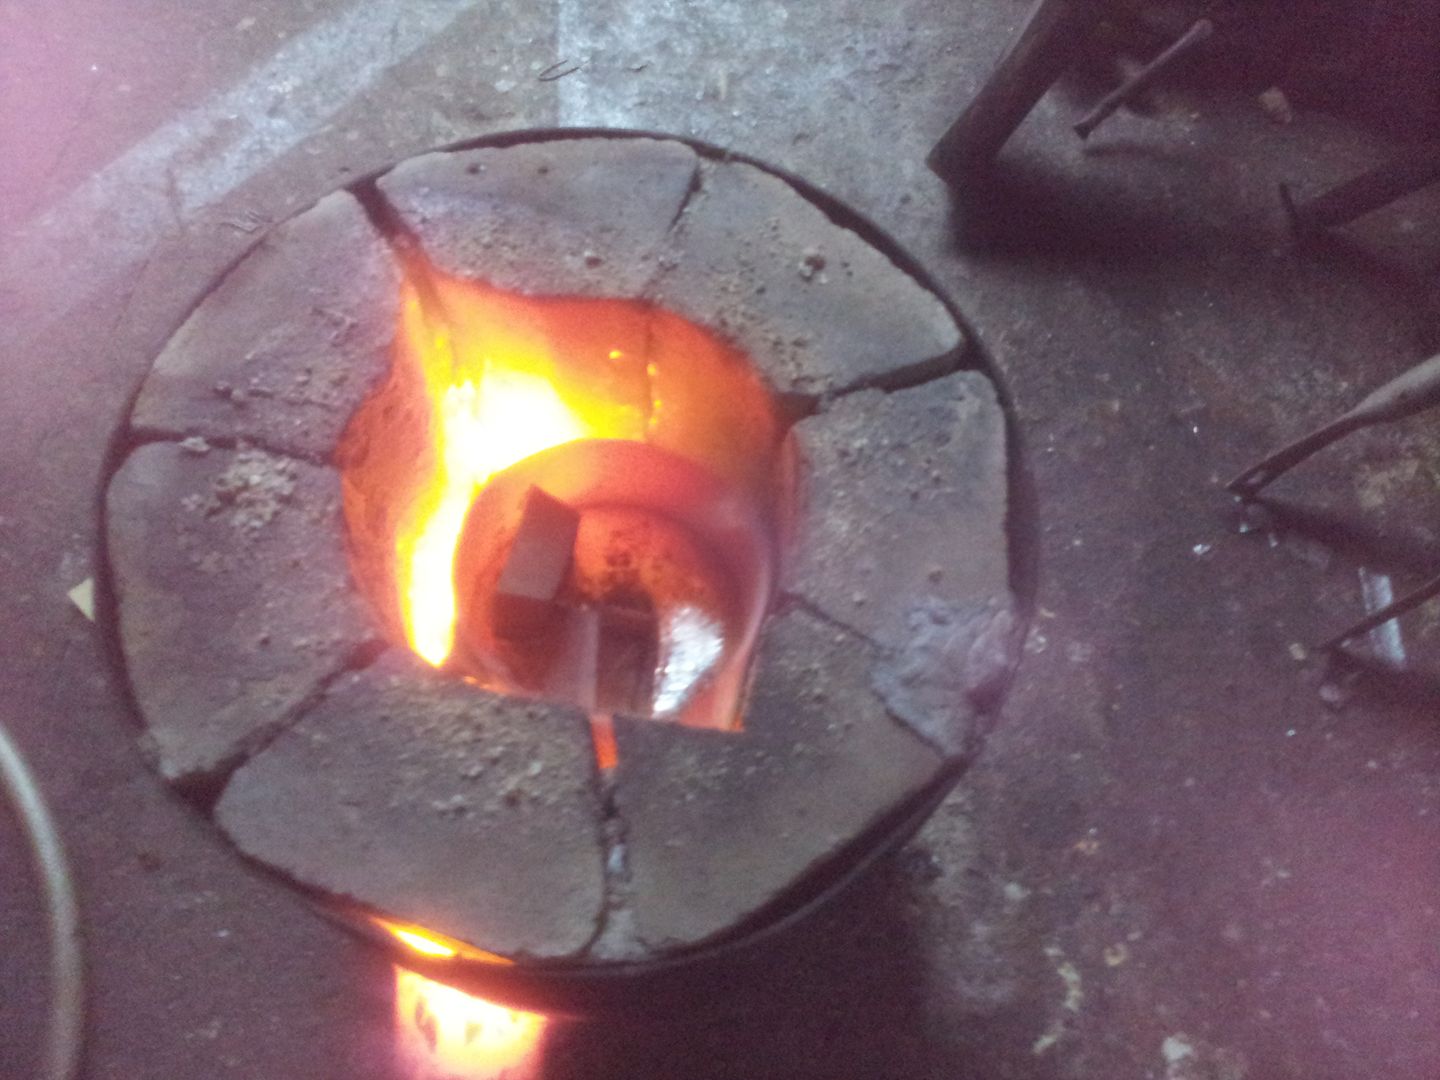
The crucible is charged with small Lm25 alloy ingots,
The moulds are moved to fire board on floor and purged with argon and blocked off,
Cosy,
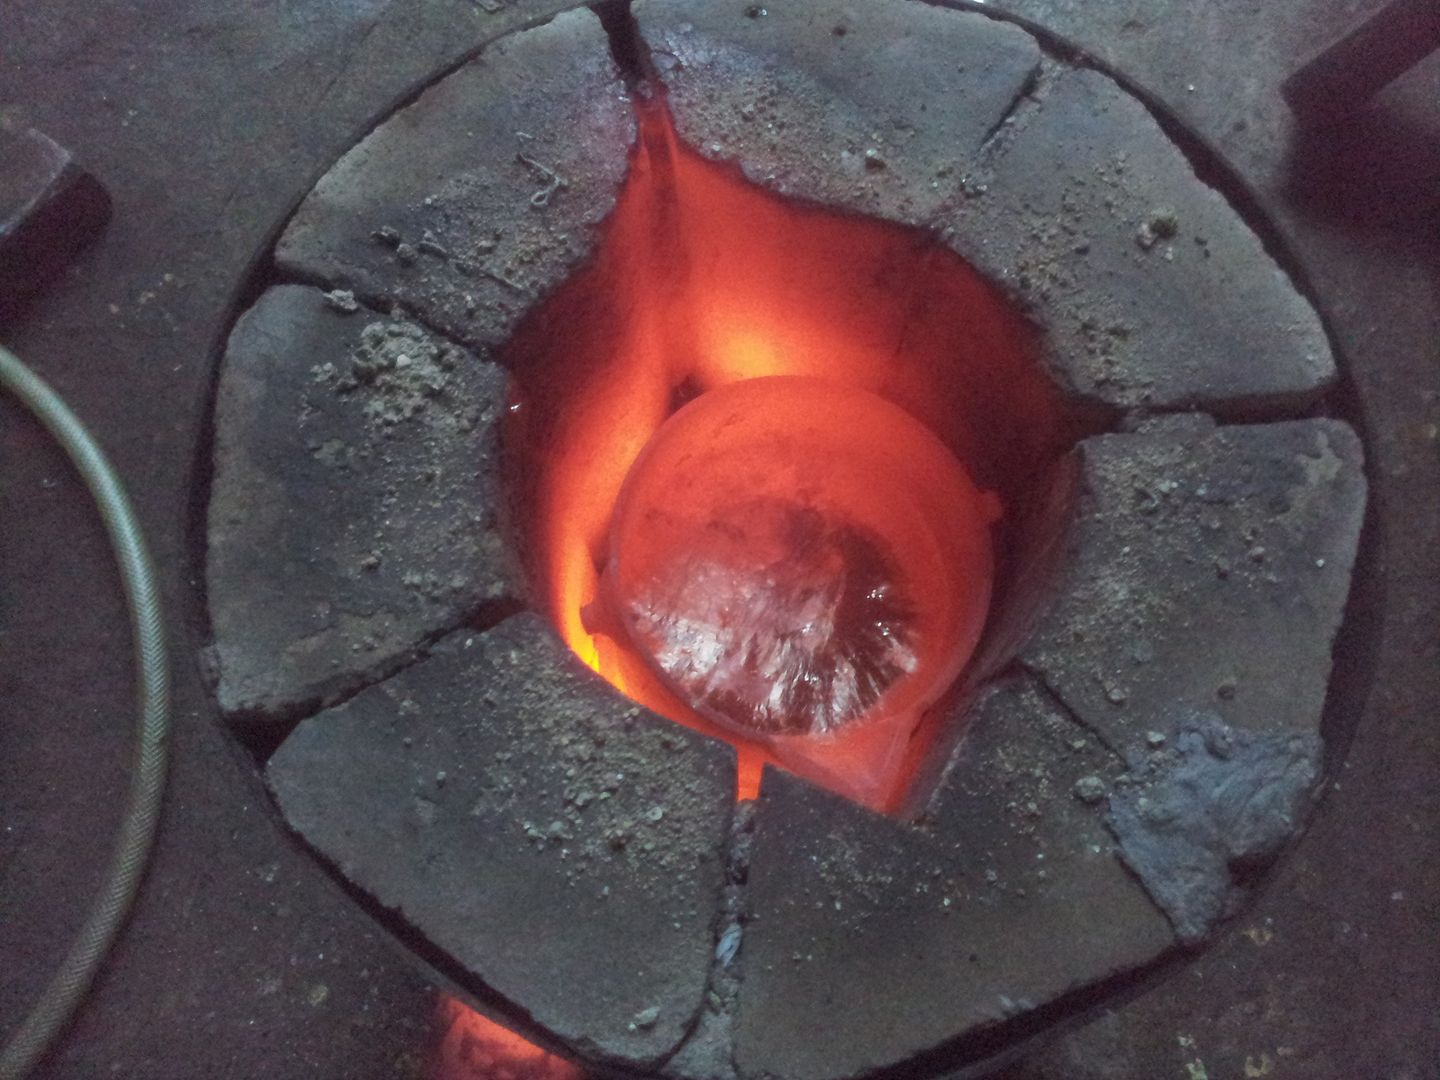
Towards the end the melt gets a flux pellet to bring any impurities to the top - stirring or touching the melt excessively is bad, you should only really touch it once to drag off dross before pouring in order to leave surface skin intact and therefore protecting the melt from gasses in the atmosphere,
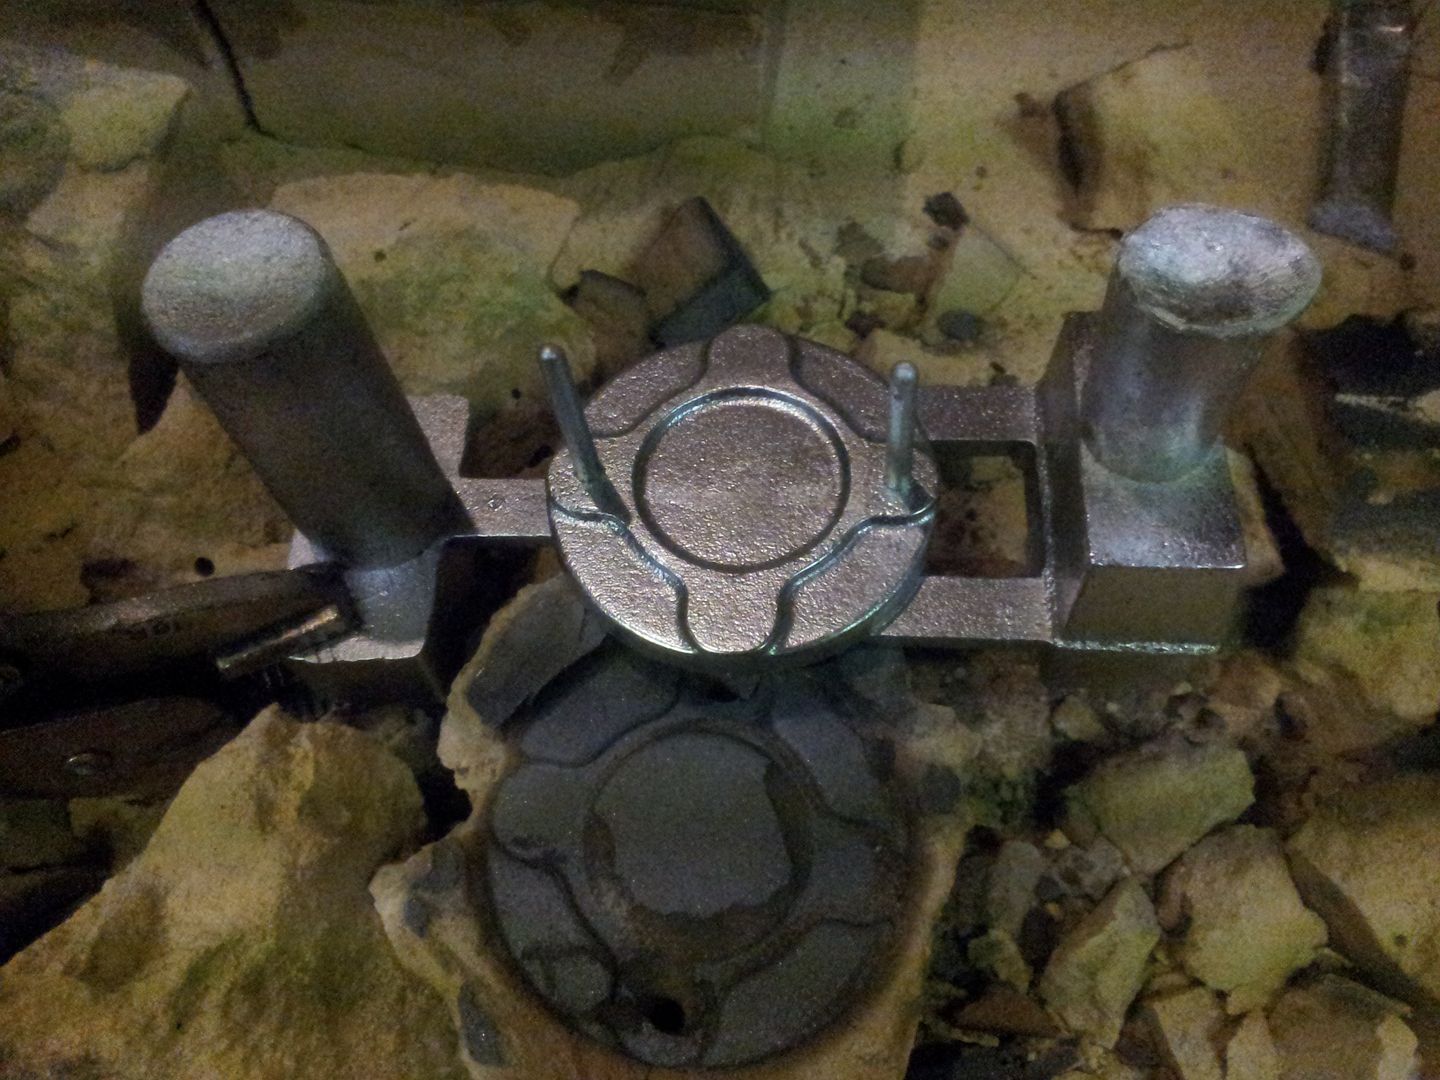
A shot right after pouring, heat causing lines on camera,
After 3min or so the moulds get cracked off with a chisel, no matter how many parts you cast, seeing a newly cast part appearing from the sand is always an amazing sight,

The vents doing their job,
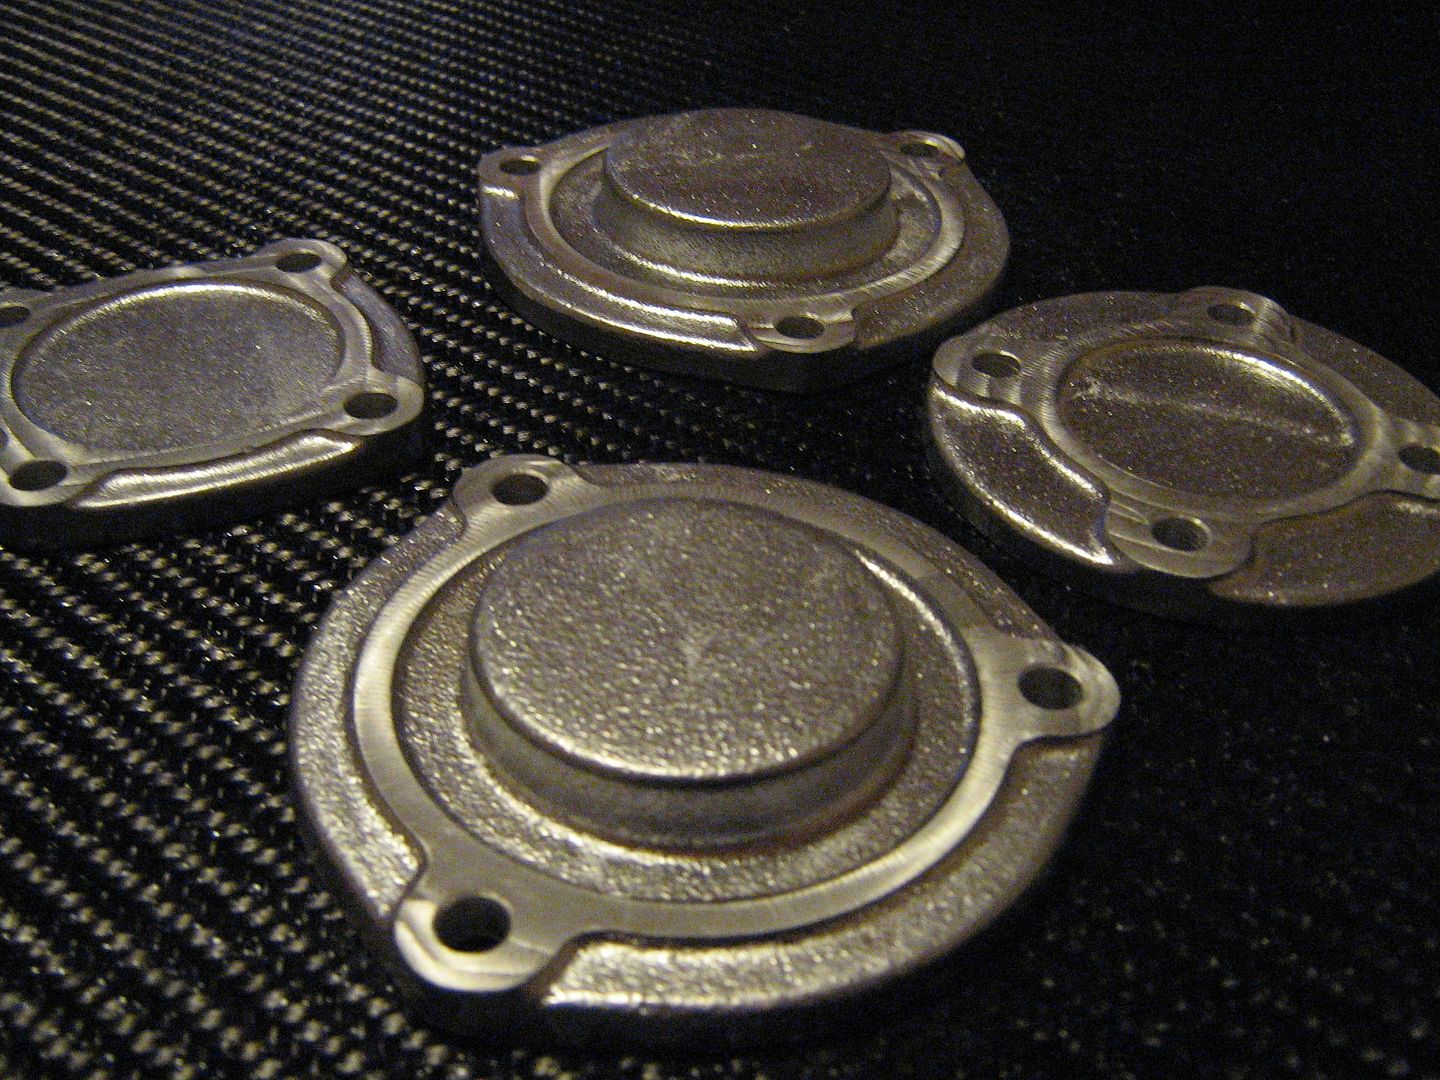
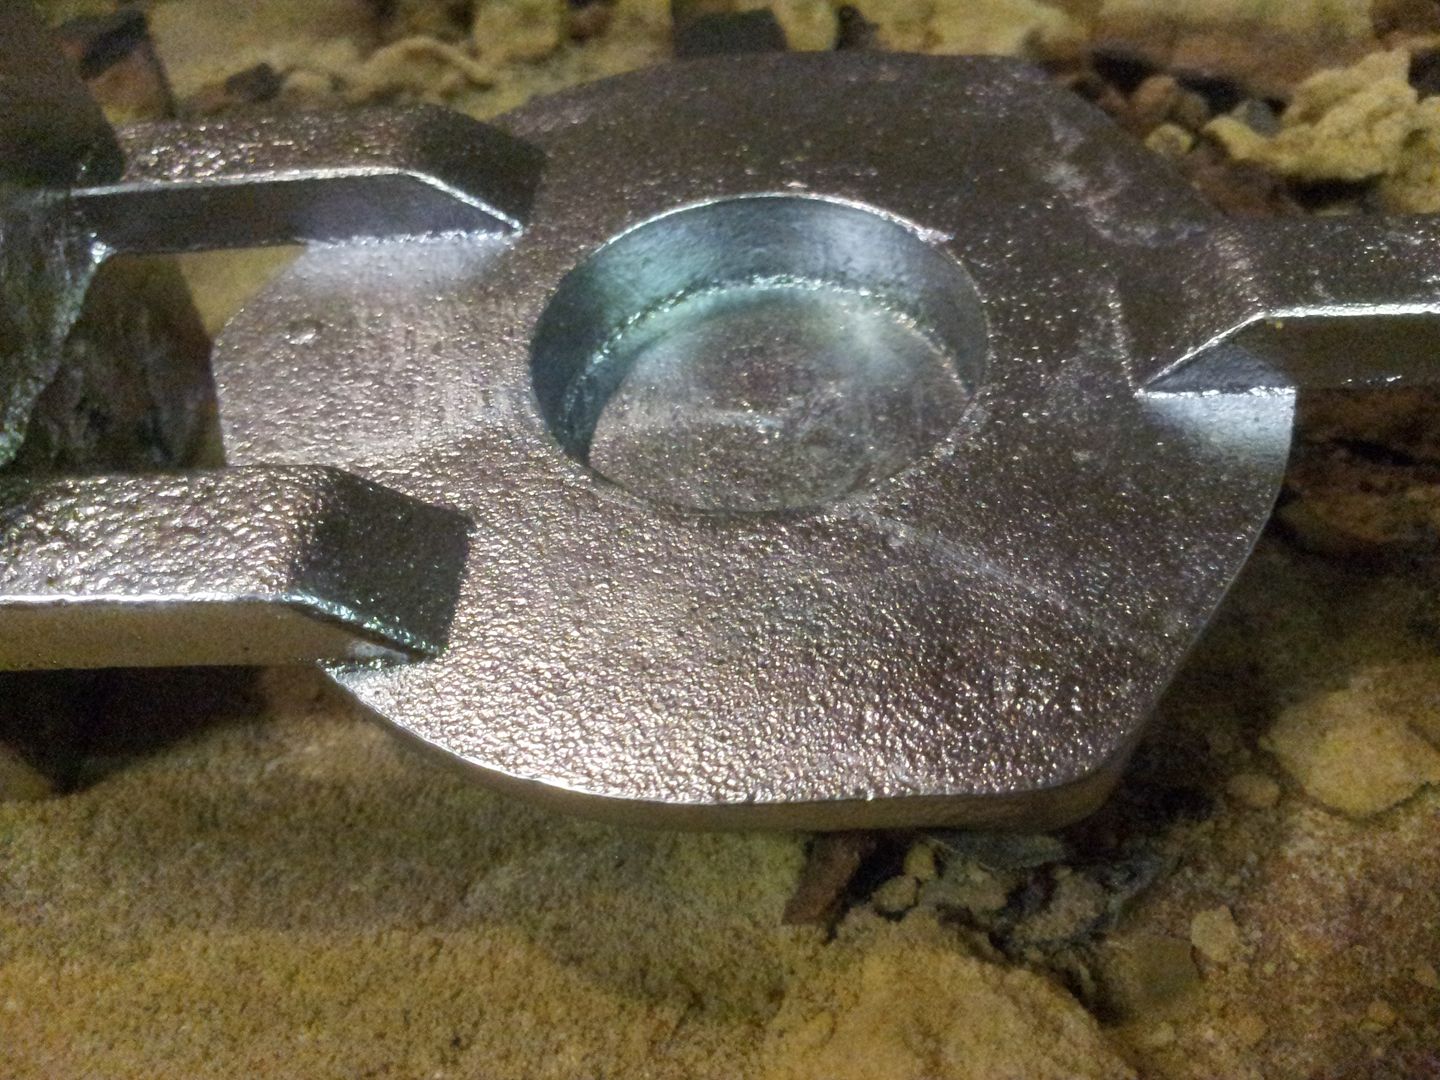
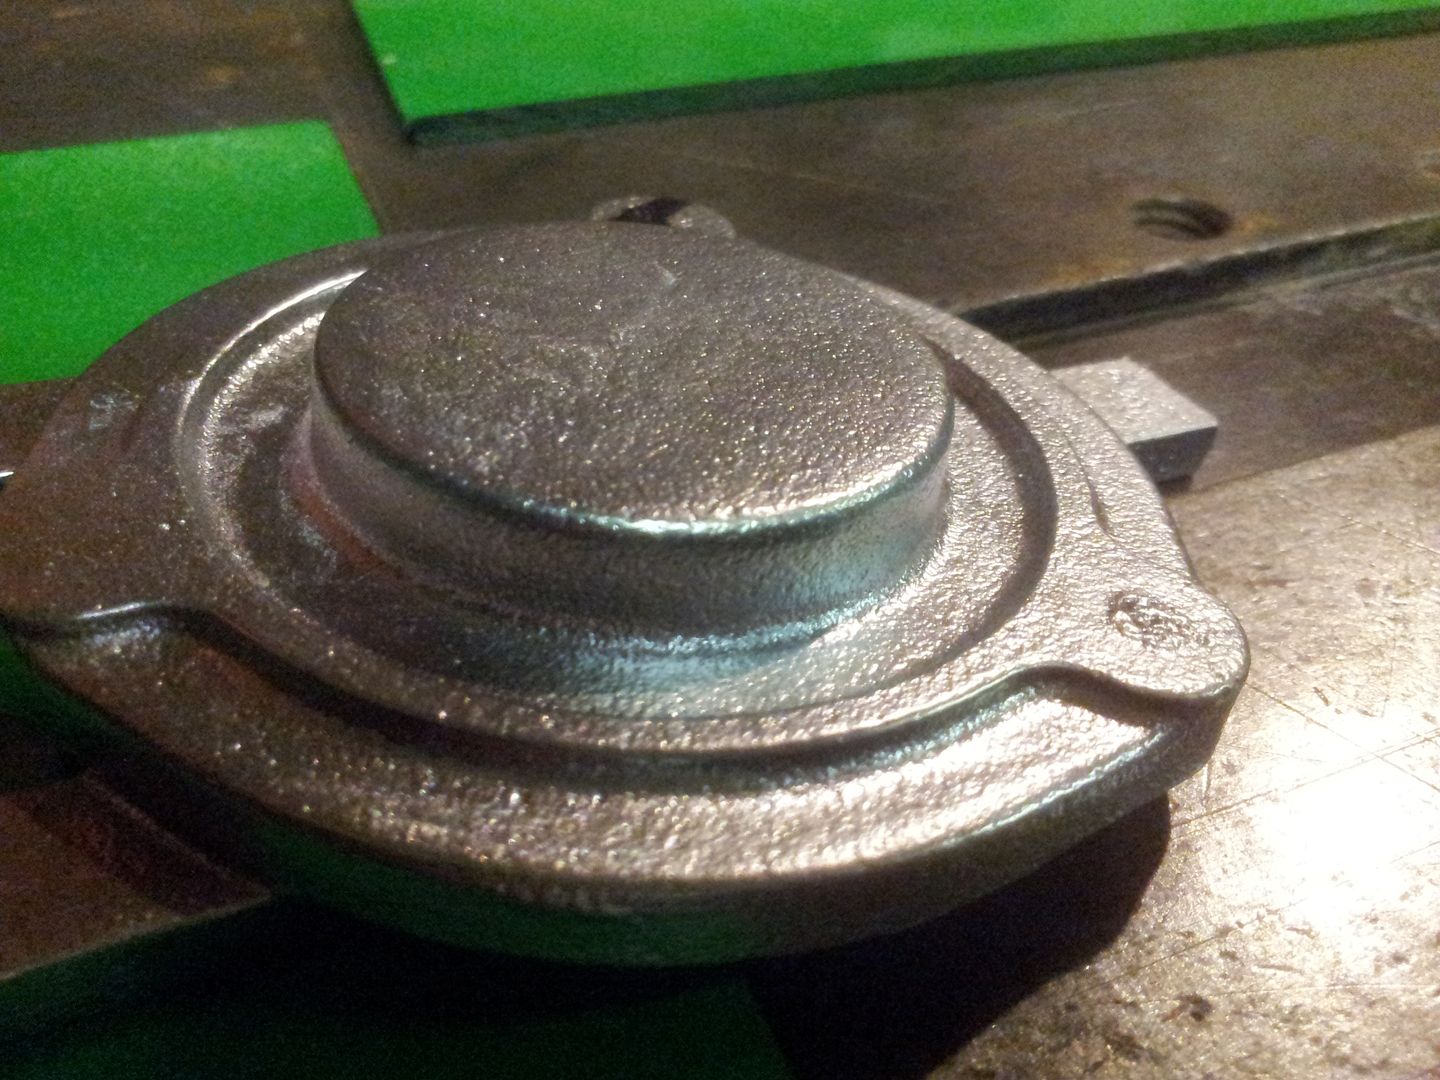
The 3 bolt covers - these were cast face down to allow metal to flow correctly around face - it also means the core can act as a vent at the rear(now the top), keeping the front face unblemished,
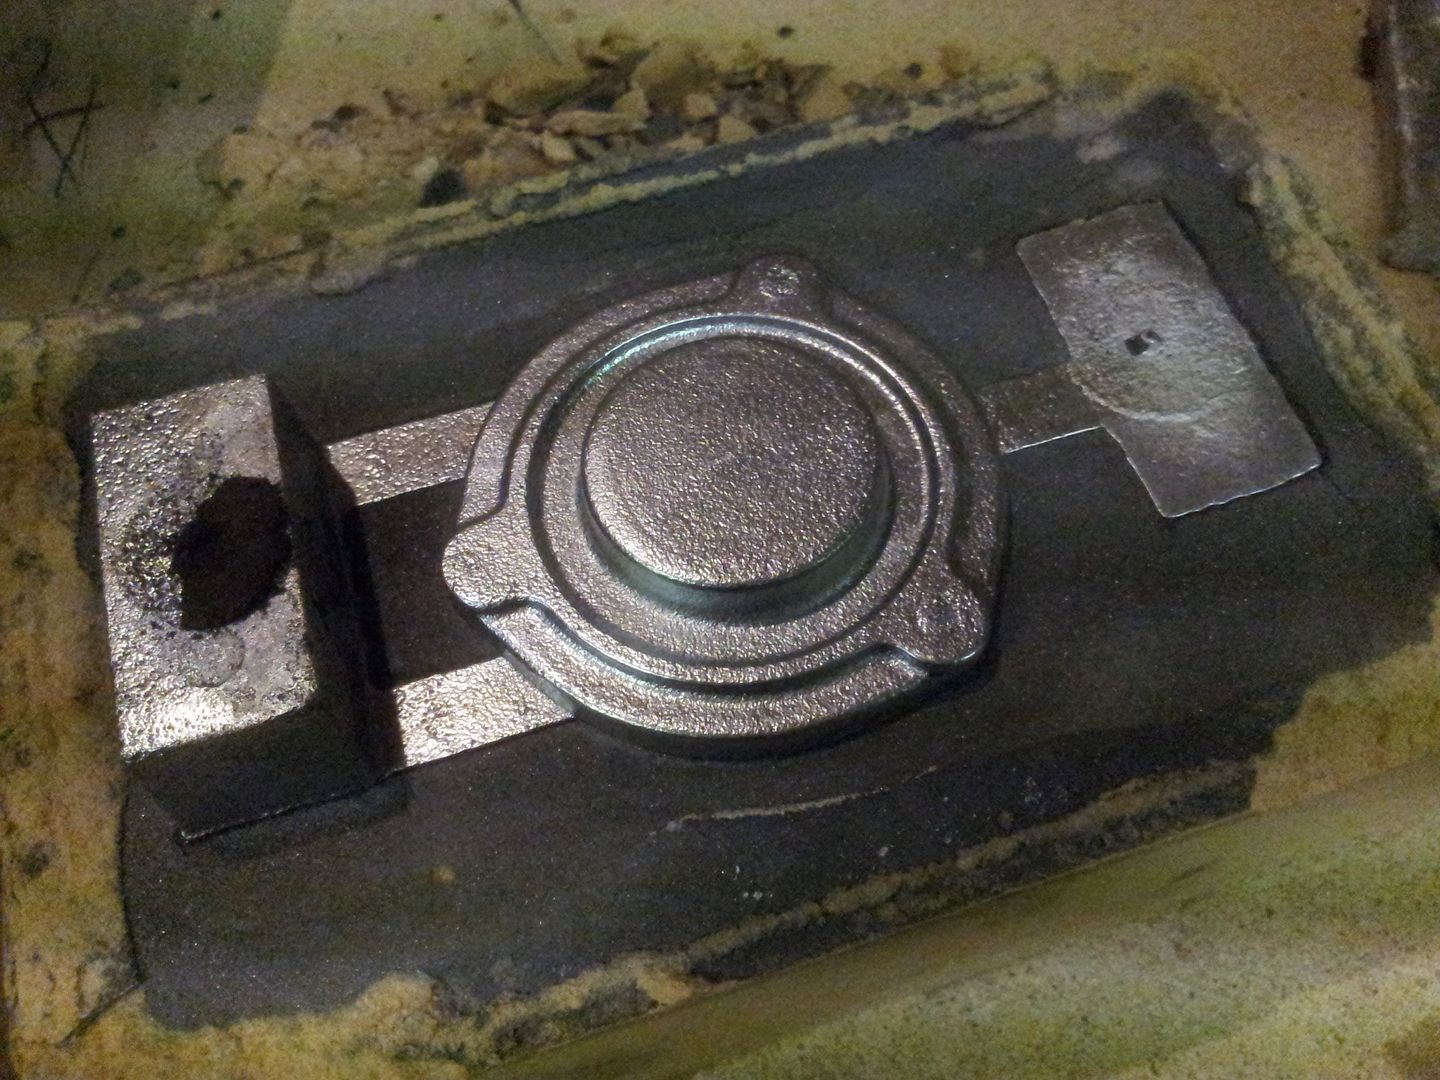
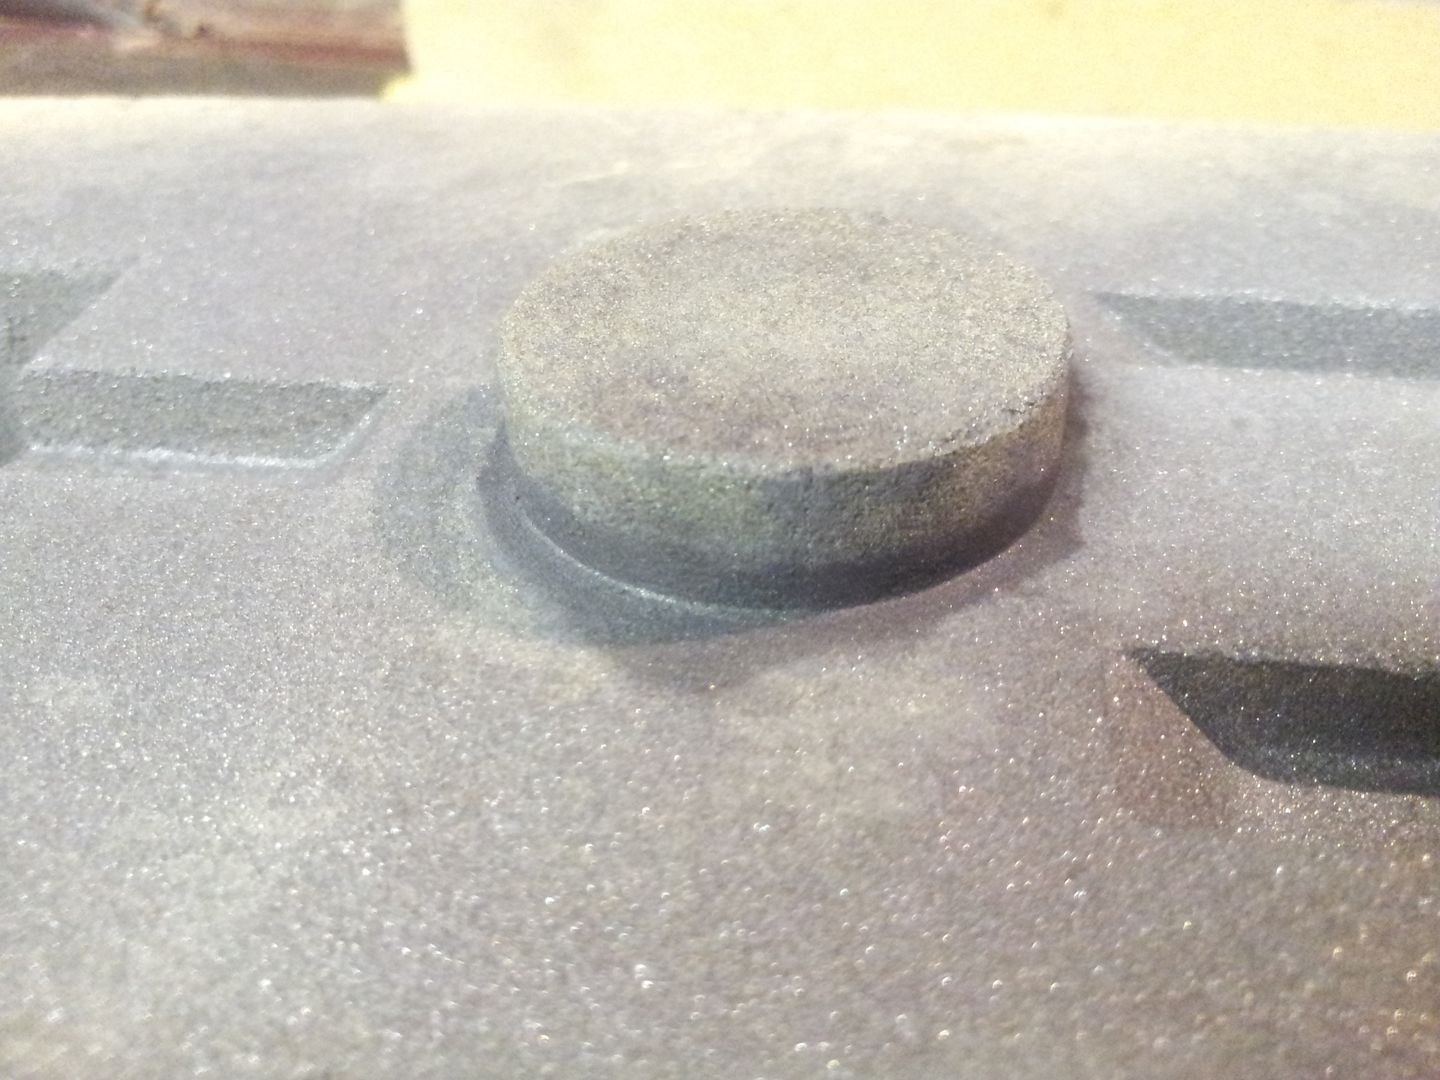
The recess,
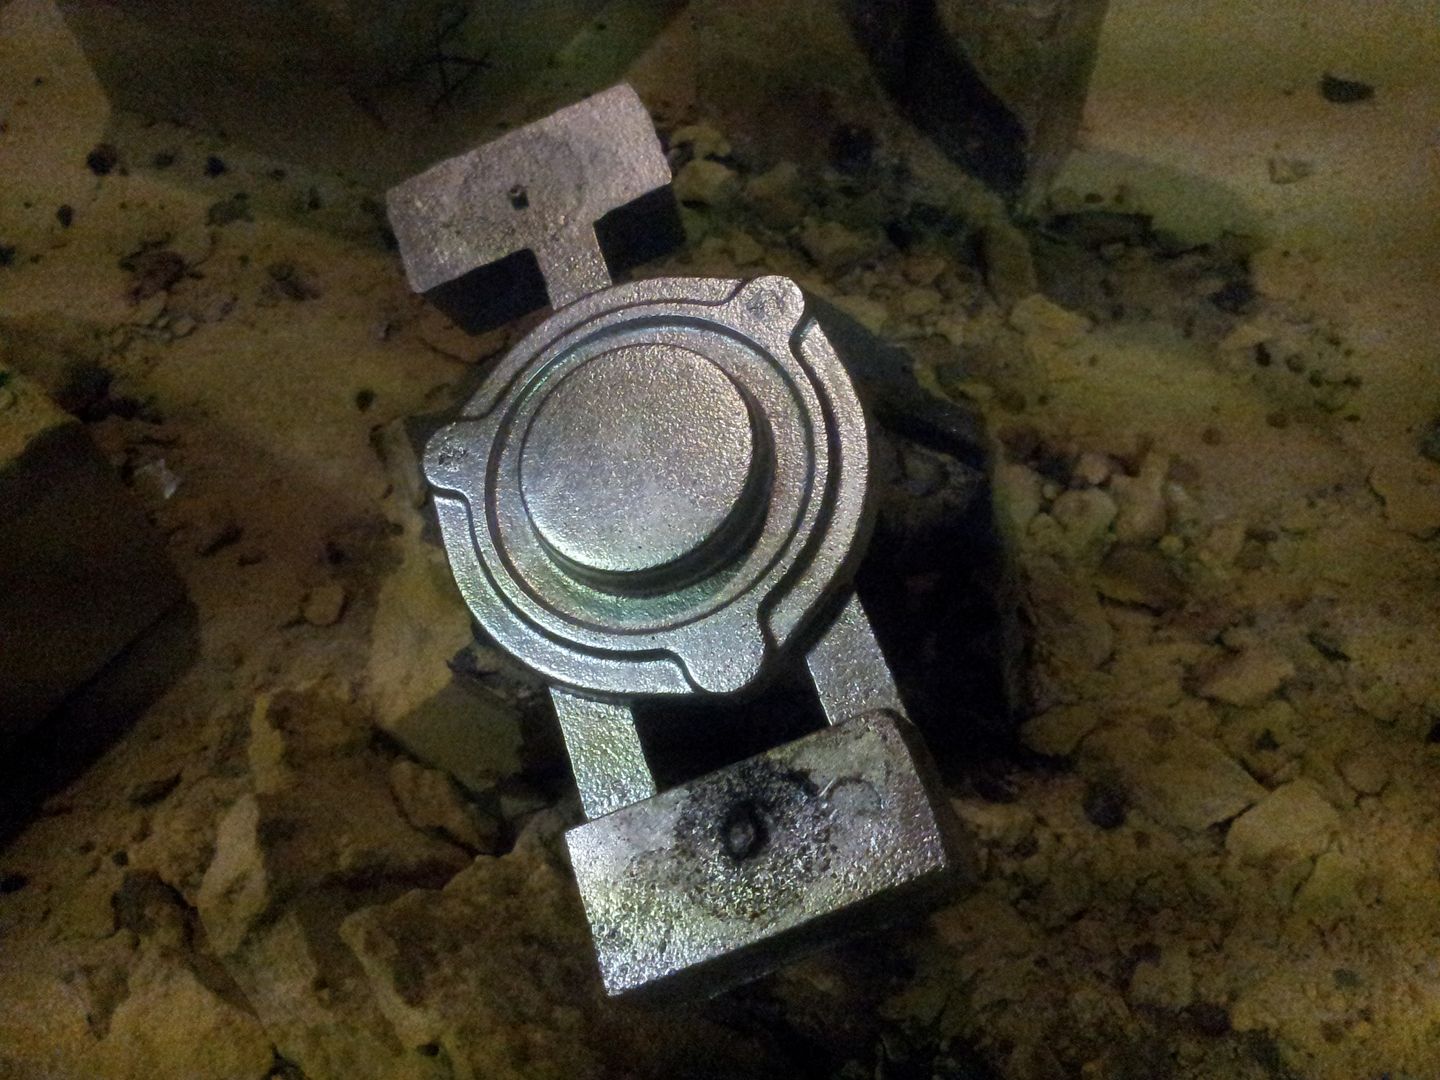
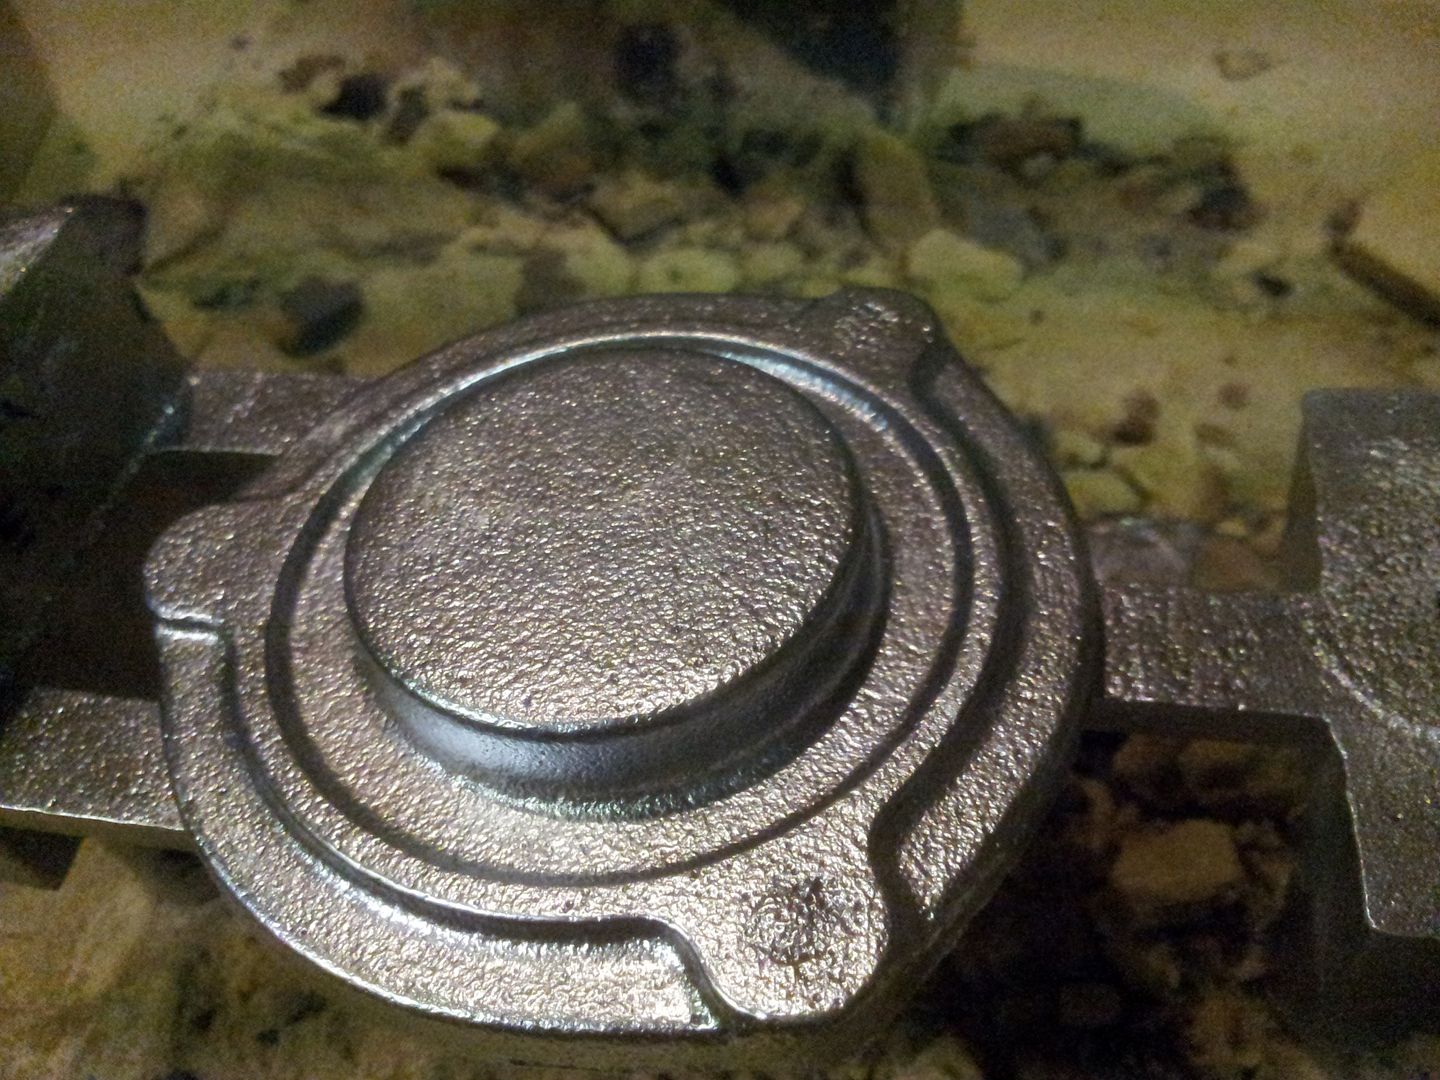
Closeup of surface finish - I think just one set will do as these are pretty bang on it terms of matching OEM finish,
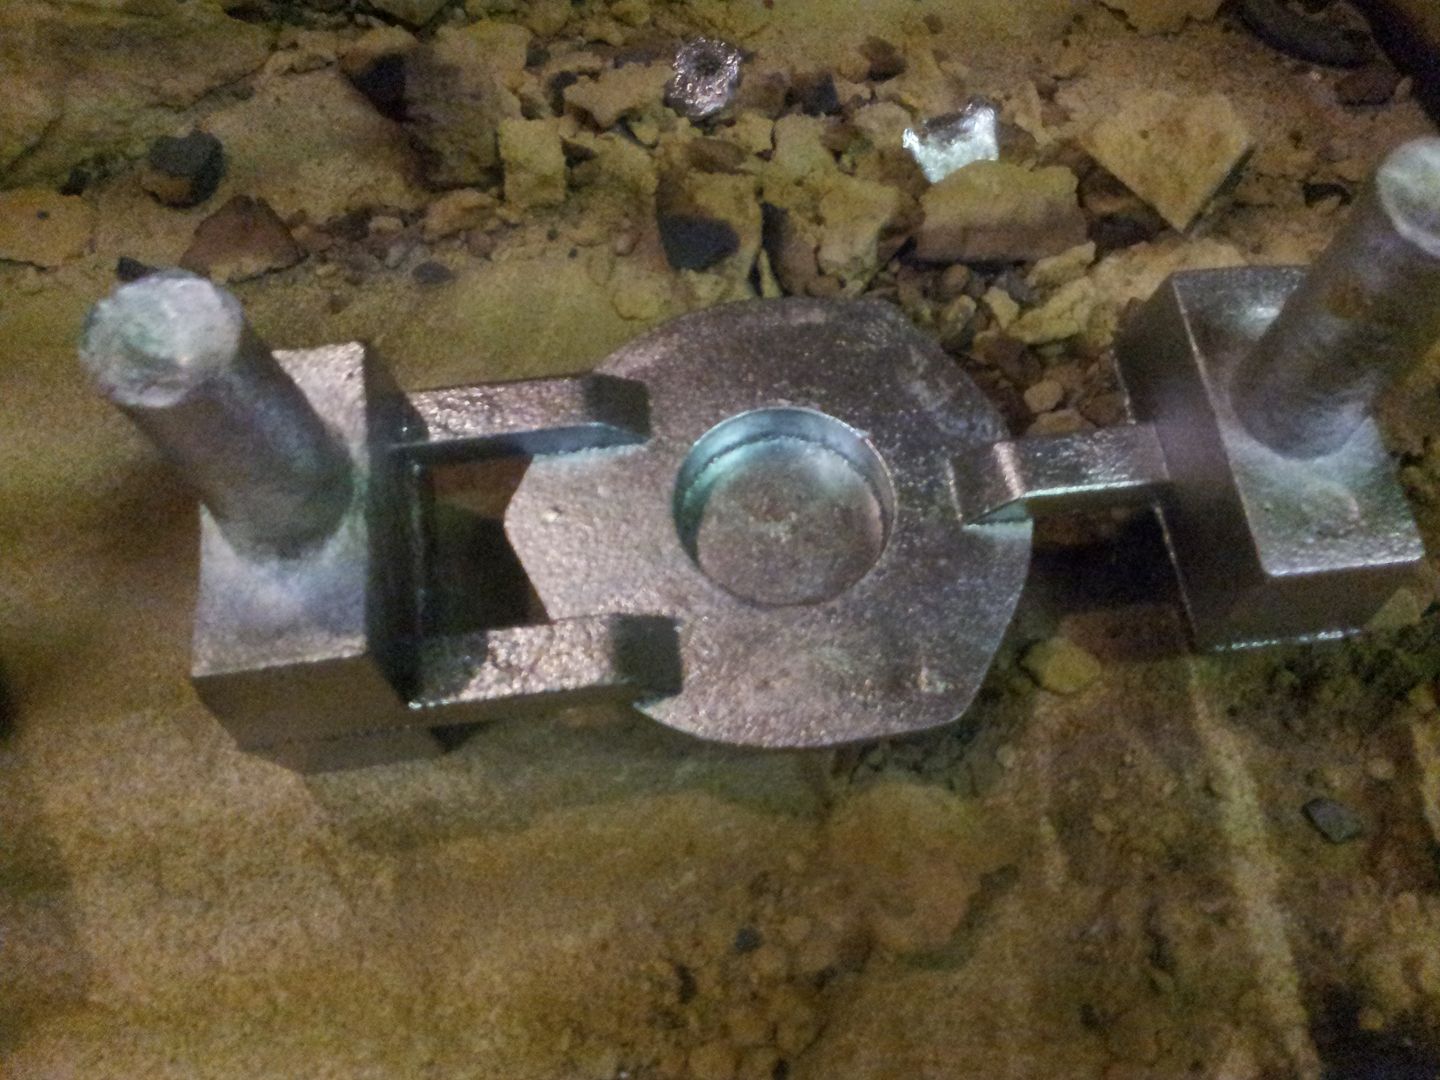
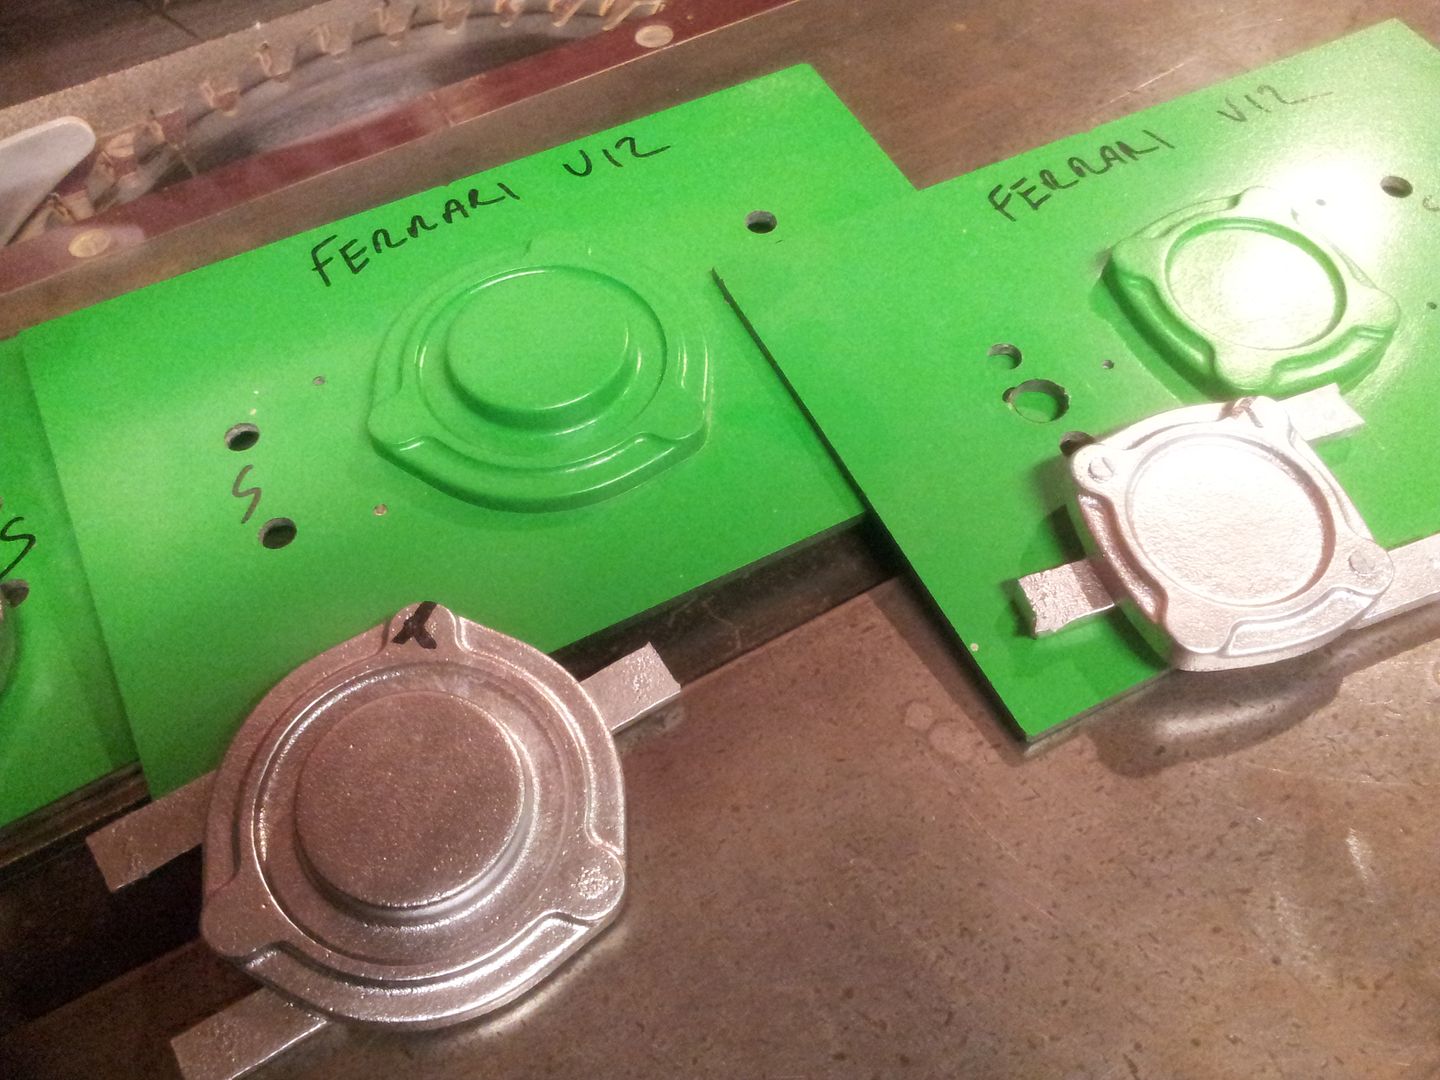
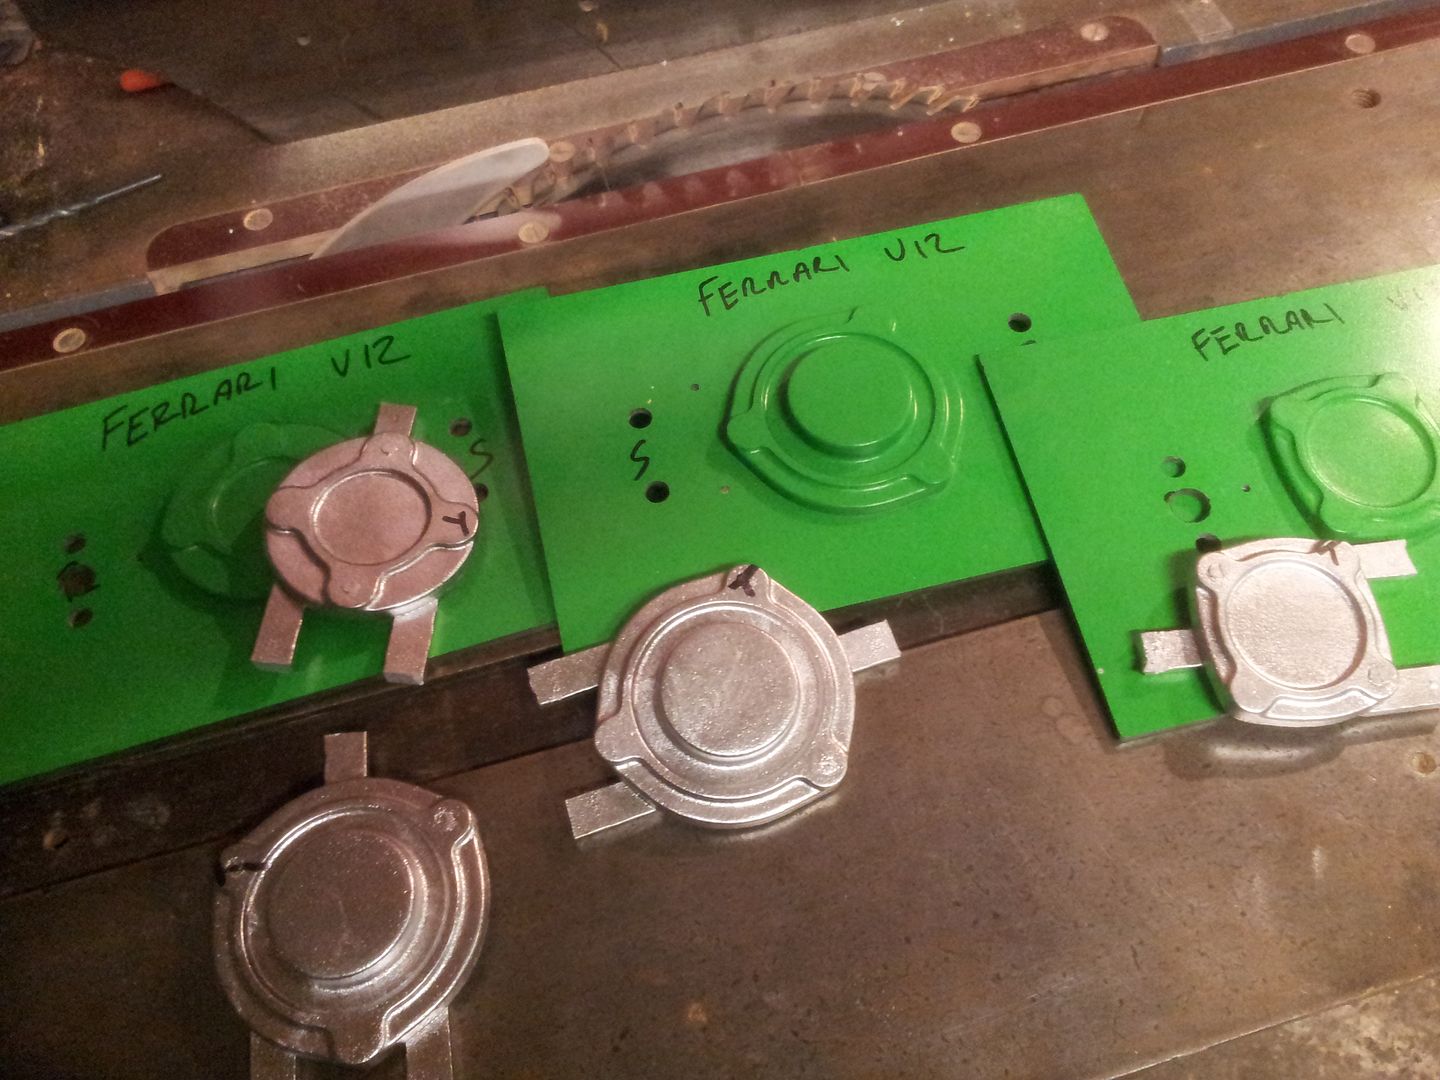
Group shots, risers + sprues now chopped off. If you look carefully, you can see a tiny nick on the top edge of parting plates - this allows me to know and keep all the 'top' orientations correct from the drawings, to the parting mould plates, and thus onto the parts themselves. This is important as once on the mill I need to be sure the raw castings are orientated as they are on the screen from which I machined the patterns from. Im not sure if the holes are on the same location/pcd, but constantly knowing the 'top' of part means it doesn't matter.
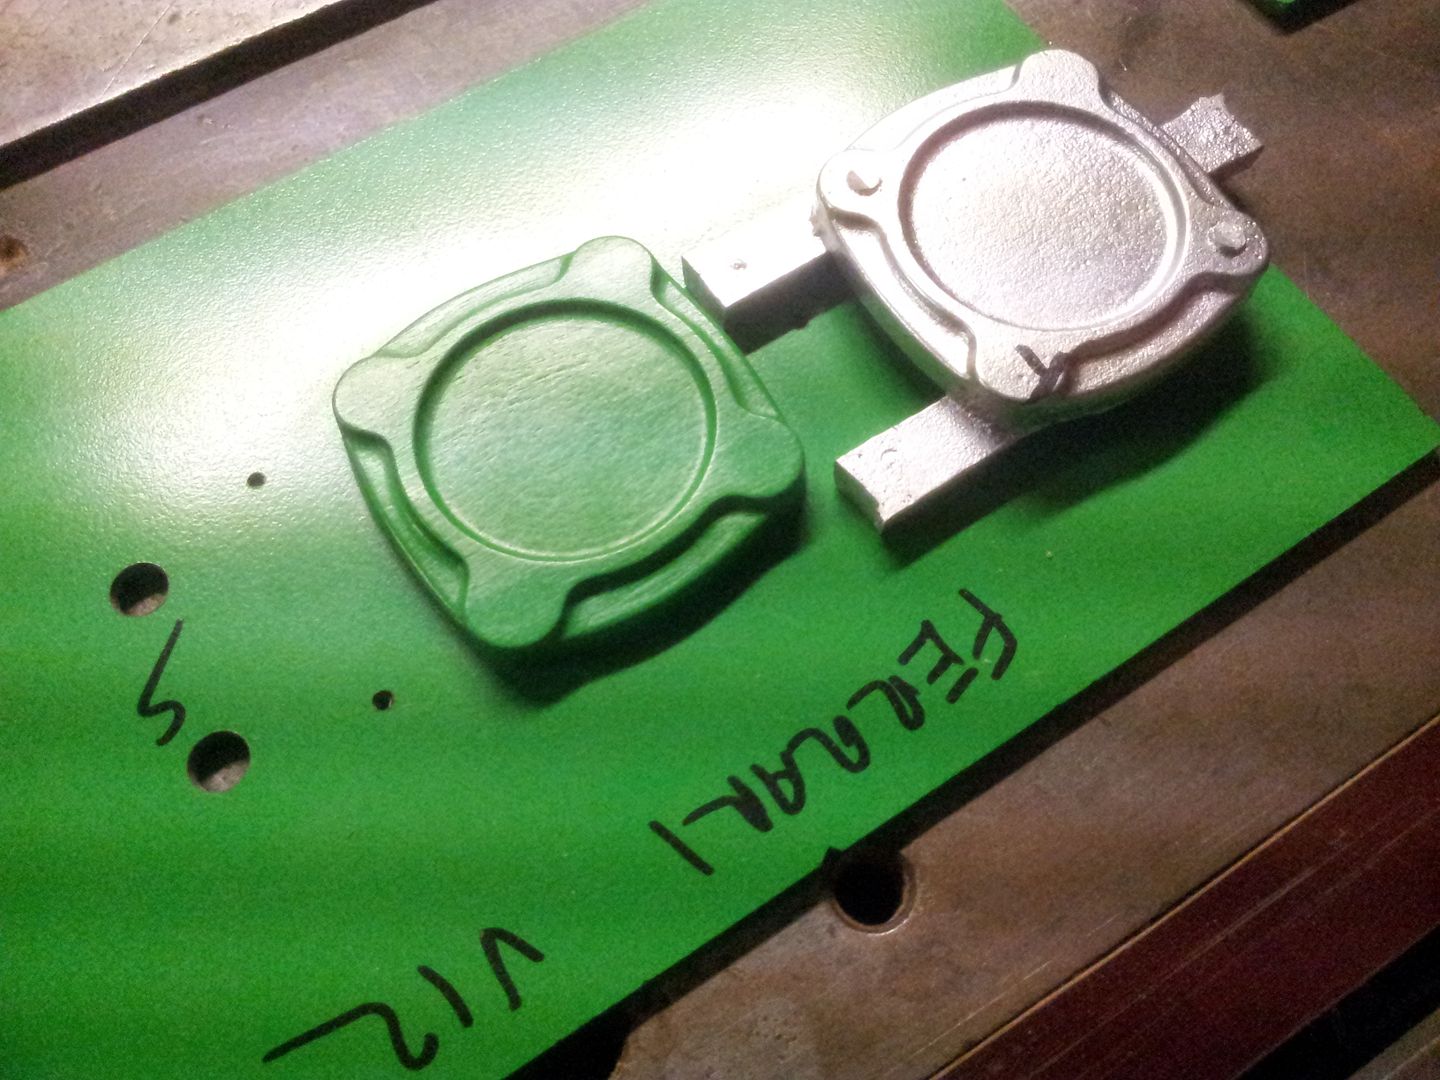
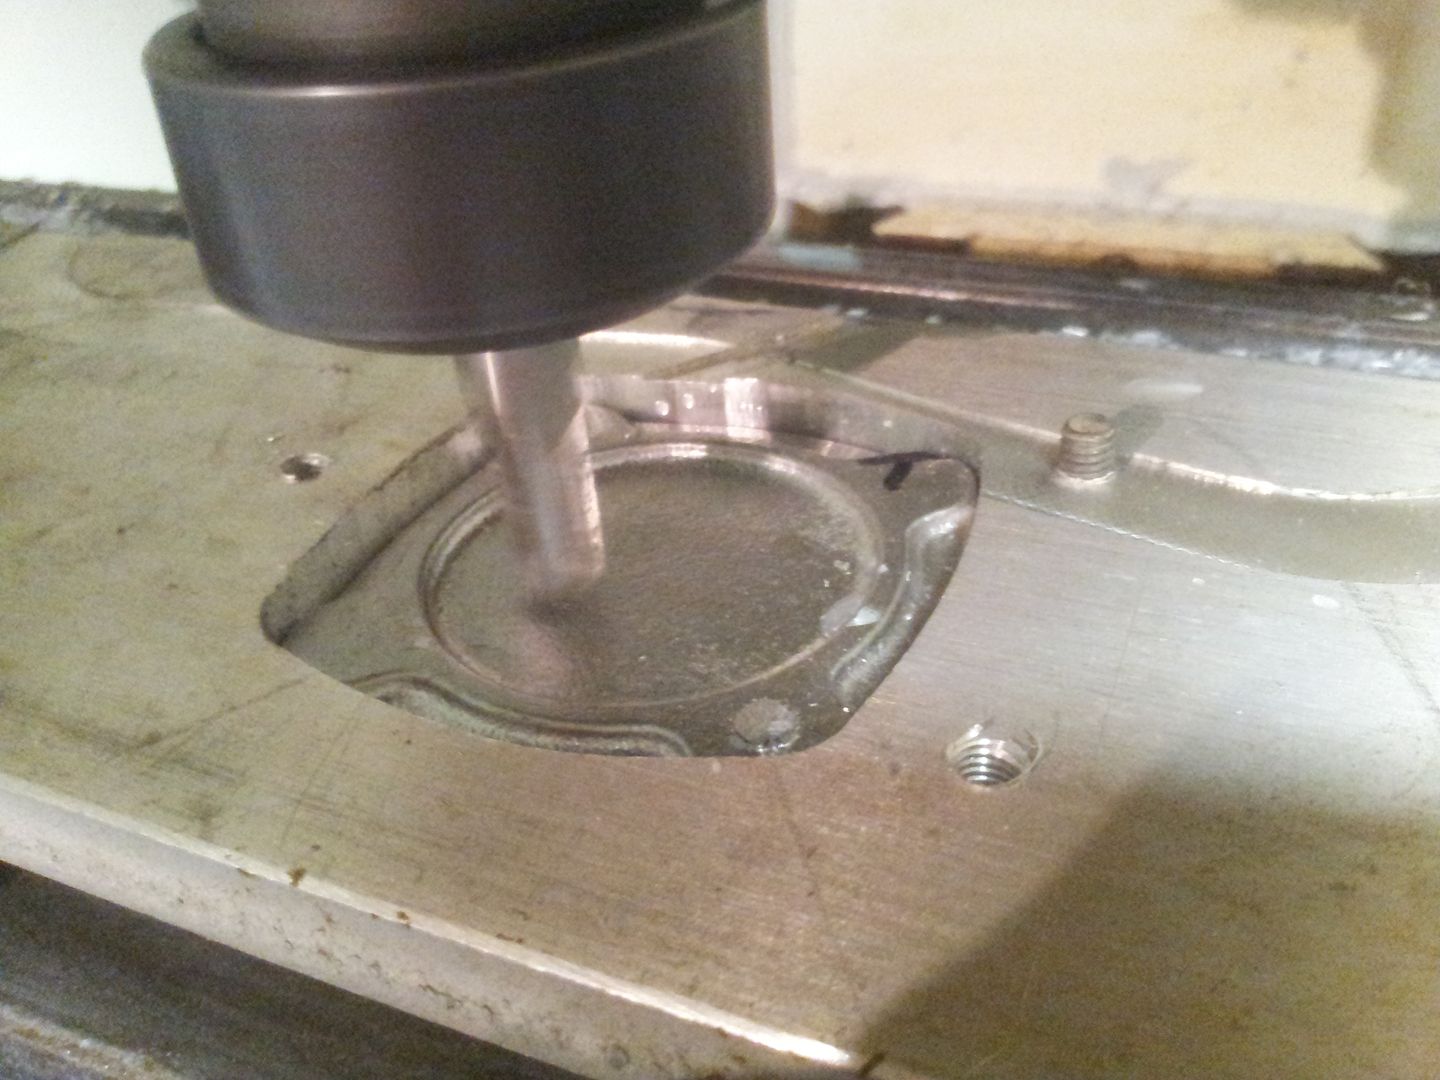
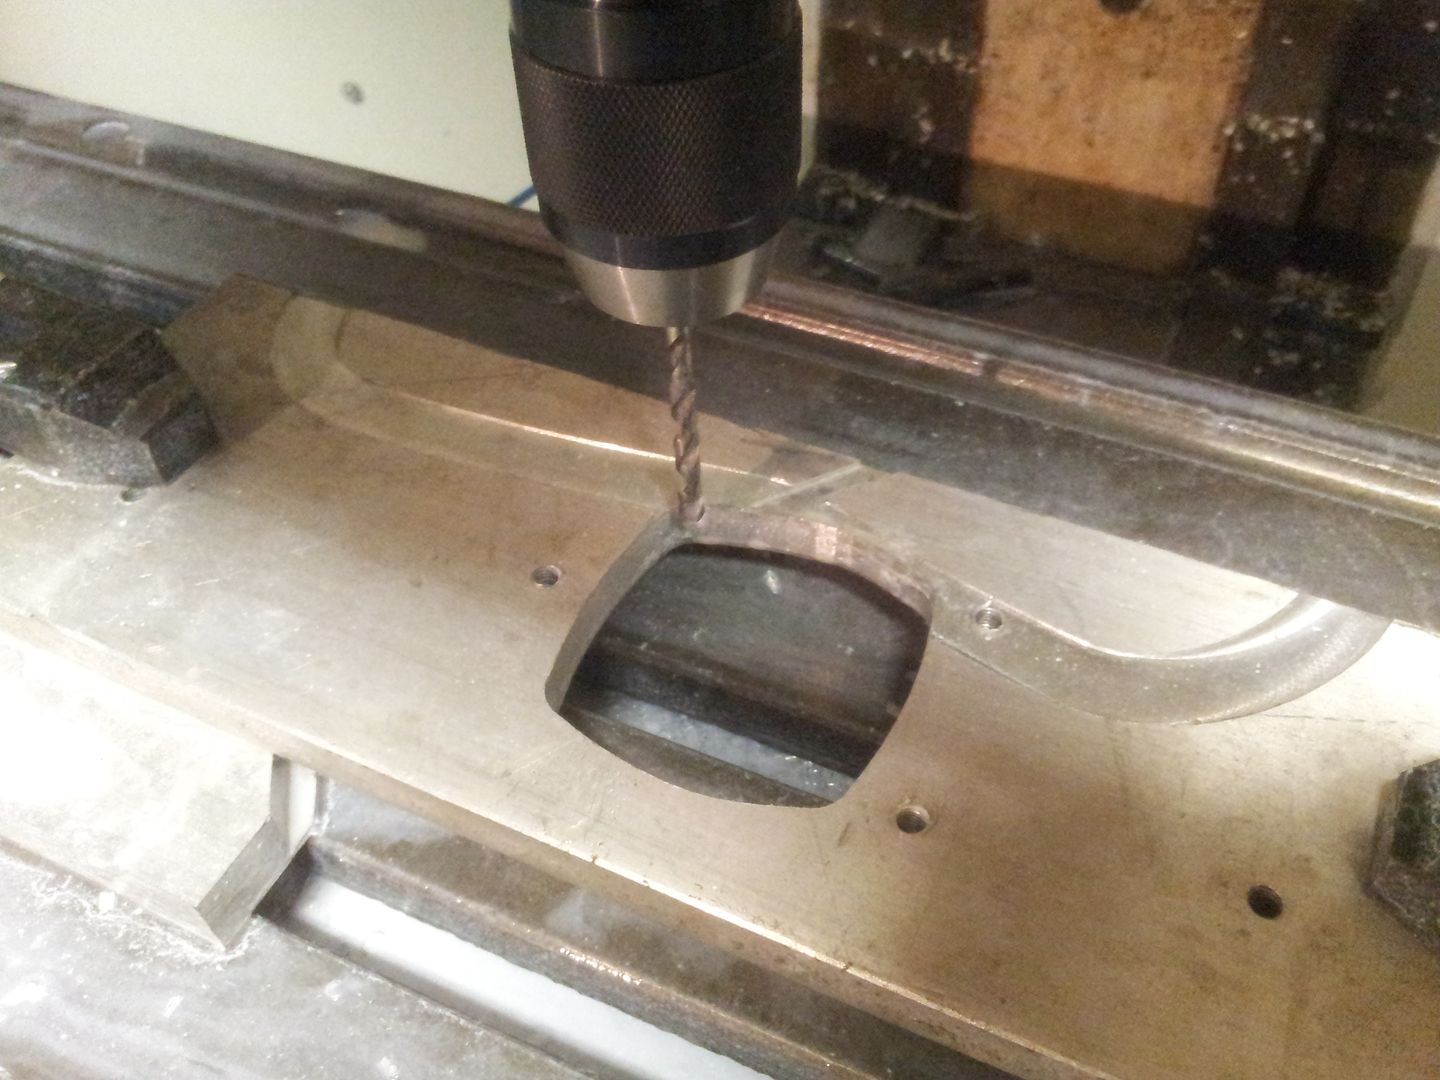
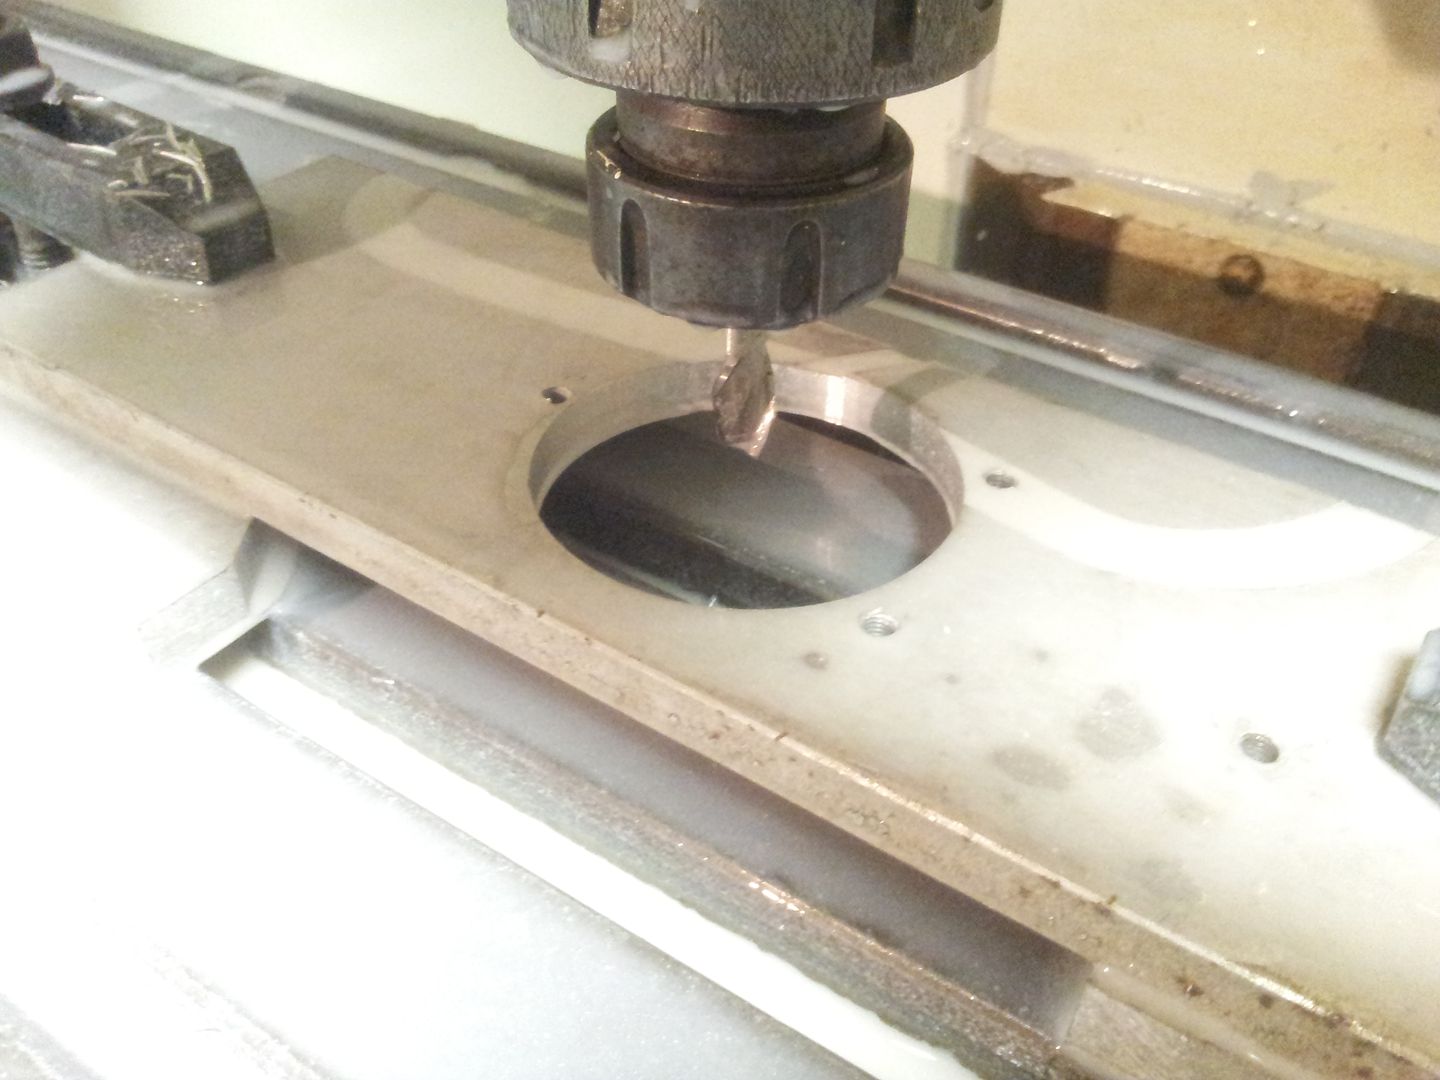
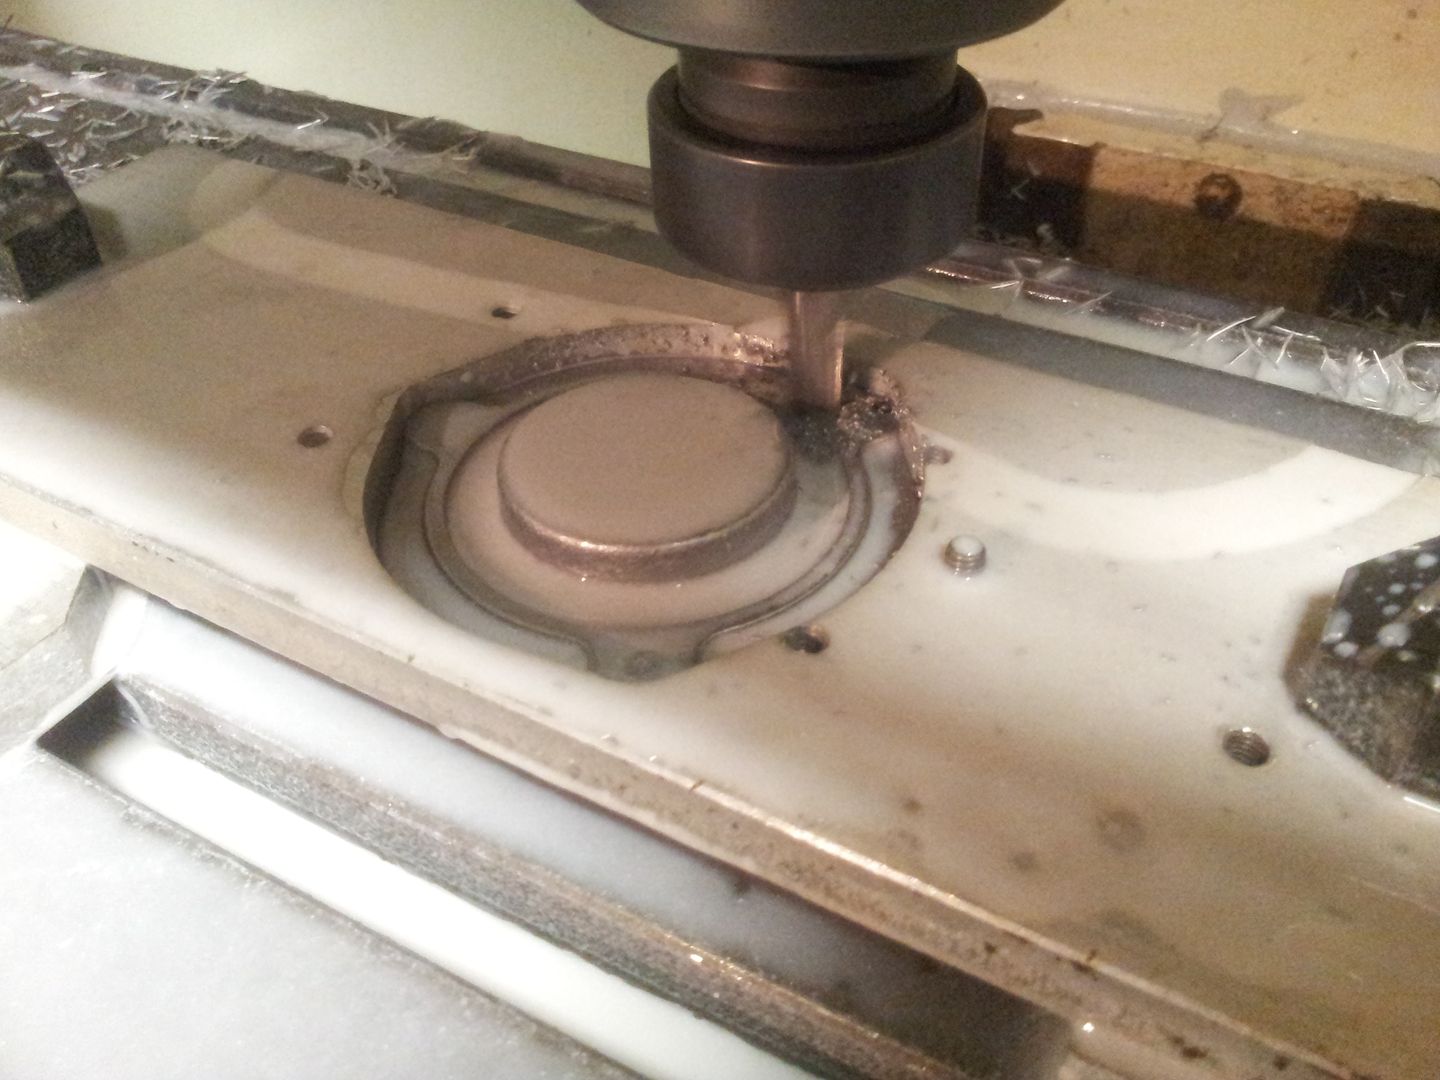
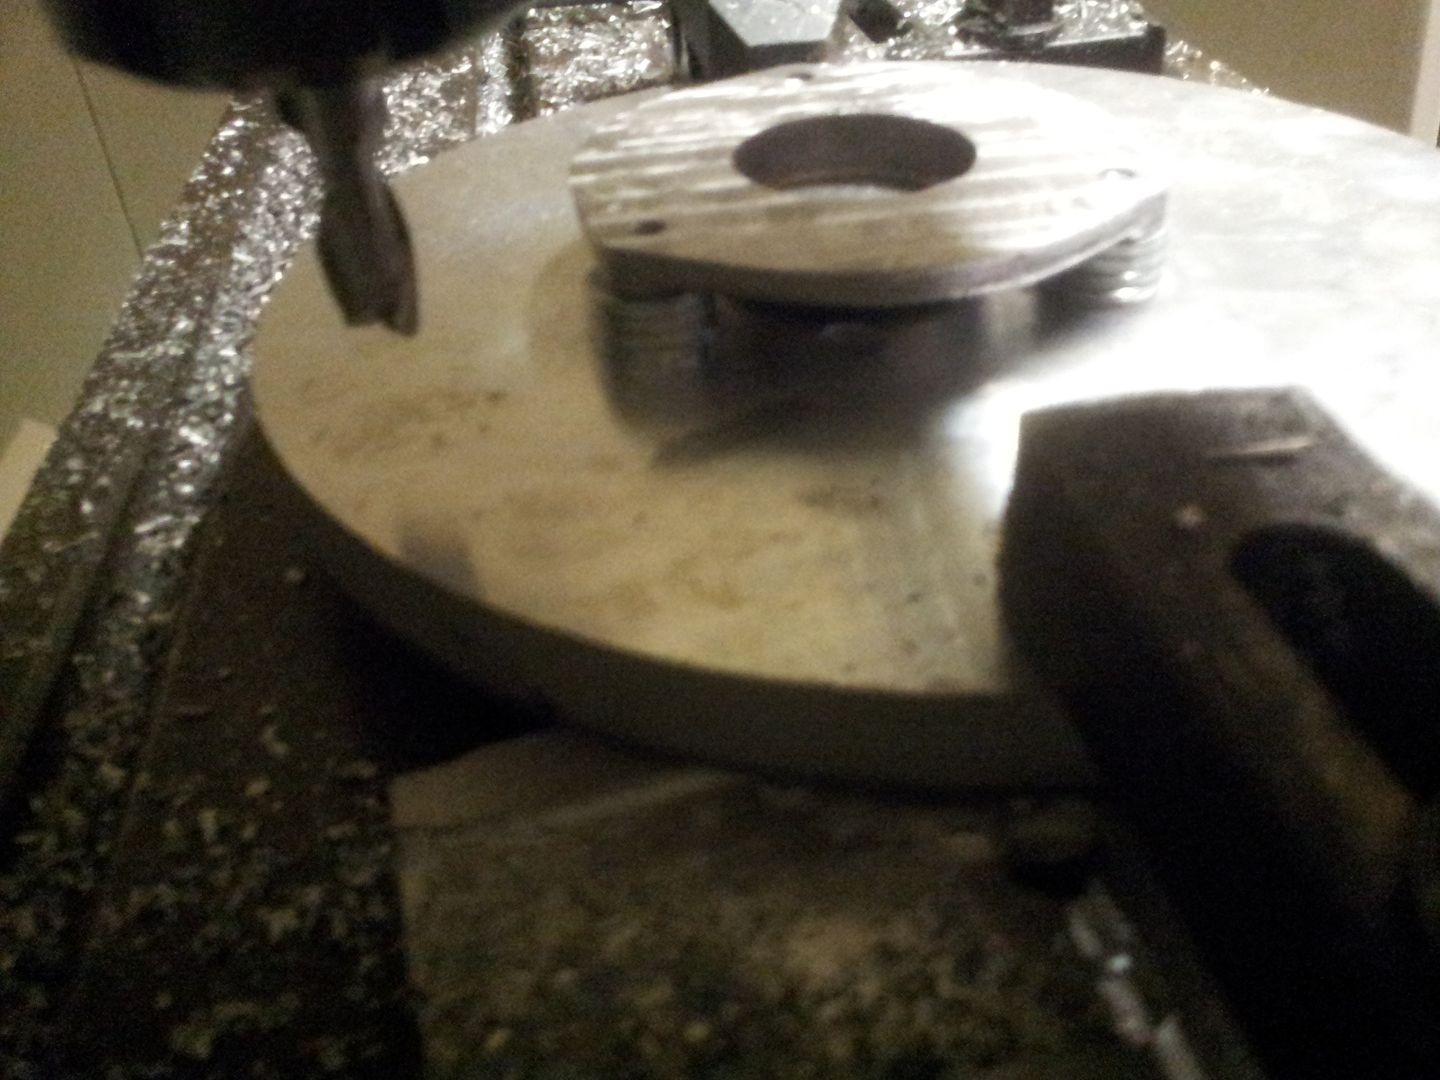
Parts will get a wash now to remove any sand left on and then get milled shortly,
Brian,